DIY wood planter box
A rustic wood log planter box makes a simple DIY project and is a satisfying way to create a unique accessory that you can fill with herbs or flowers.
10.02.2025

DIY wood planter box: preparation
Planters are available in all kinds of shapes and sizes, made from metal, plastic, terracotta, stone – the choices are limitless. But there is a particular charm to a planter made from wood, as the natural material is an appealing complement to the plants inside. Making a log into a rustic planter is a great DIY project and the results are sure to be admired. We recommend using a strong, weather-resistant wood such as larch or spruce; your planter will be lined with plastic so the wood is not damaged by moisture from the soil, though you will also need to include drainage to ensure healthy plants.
Make sure you use dry wood for this DIY, as it means your log planter box will last longer. Wood that is still drying out is prone to cracking. If you use a log that still has bark on, this may come off over time.
Committed to your safety: protective equipment
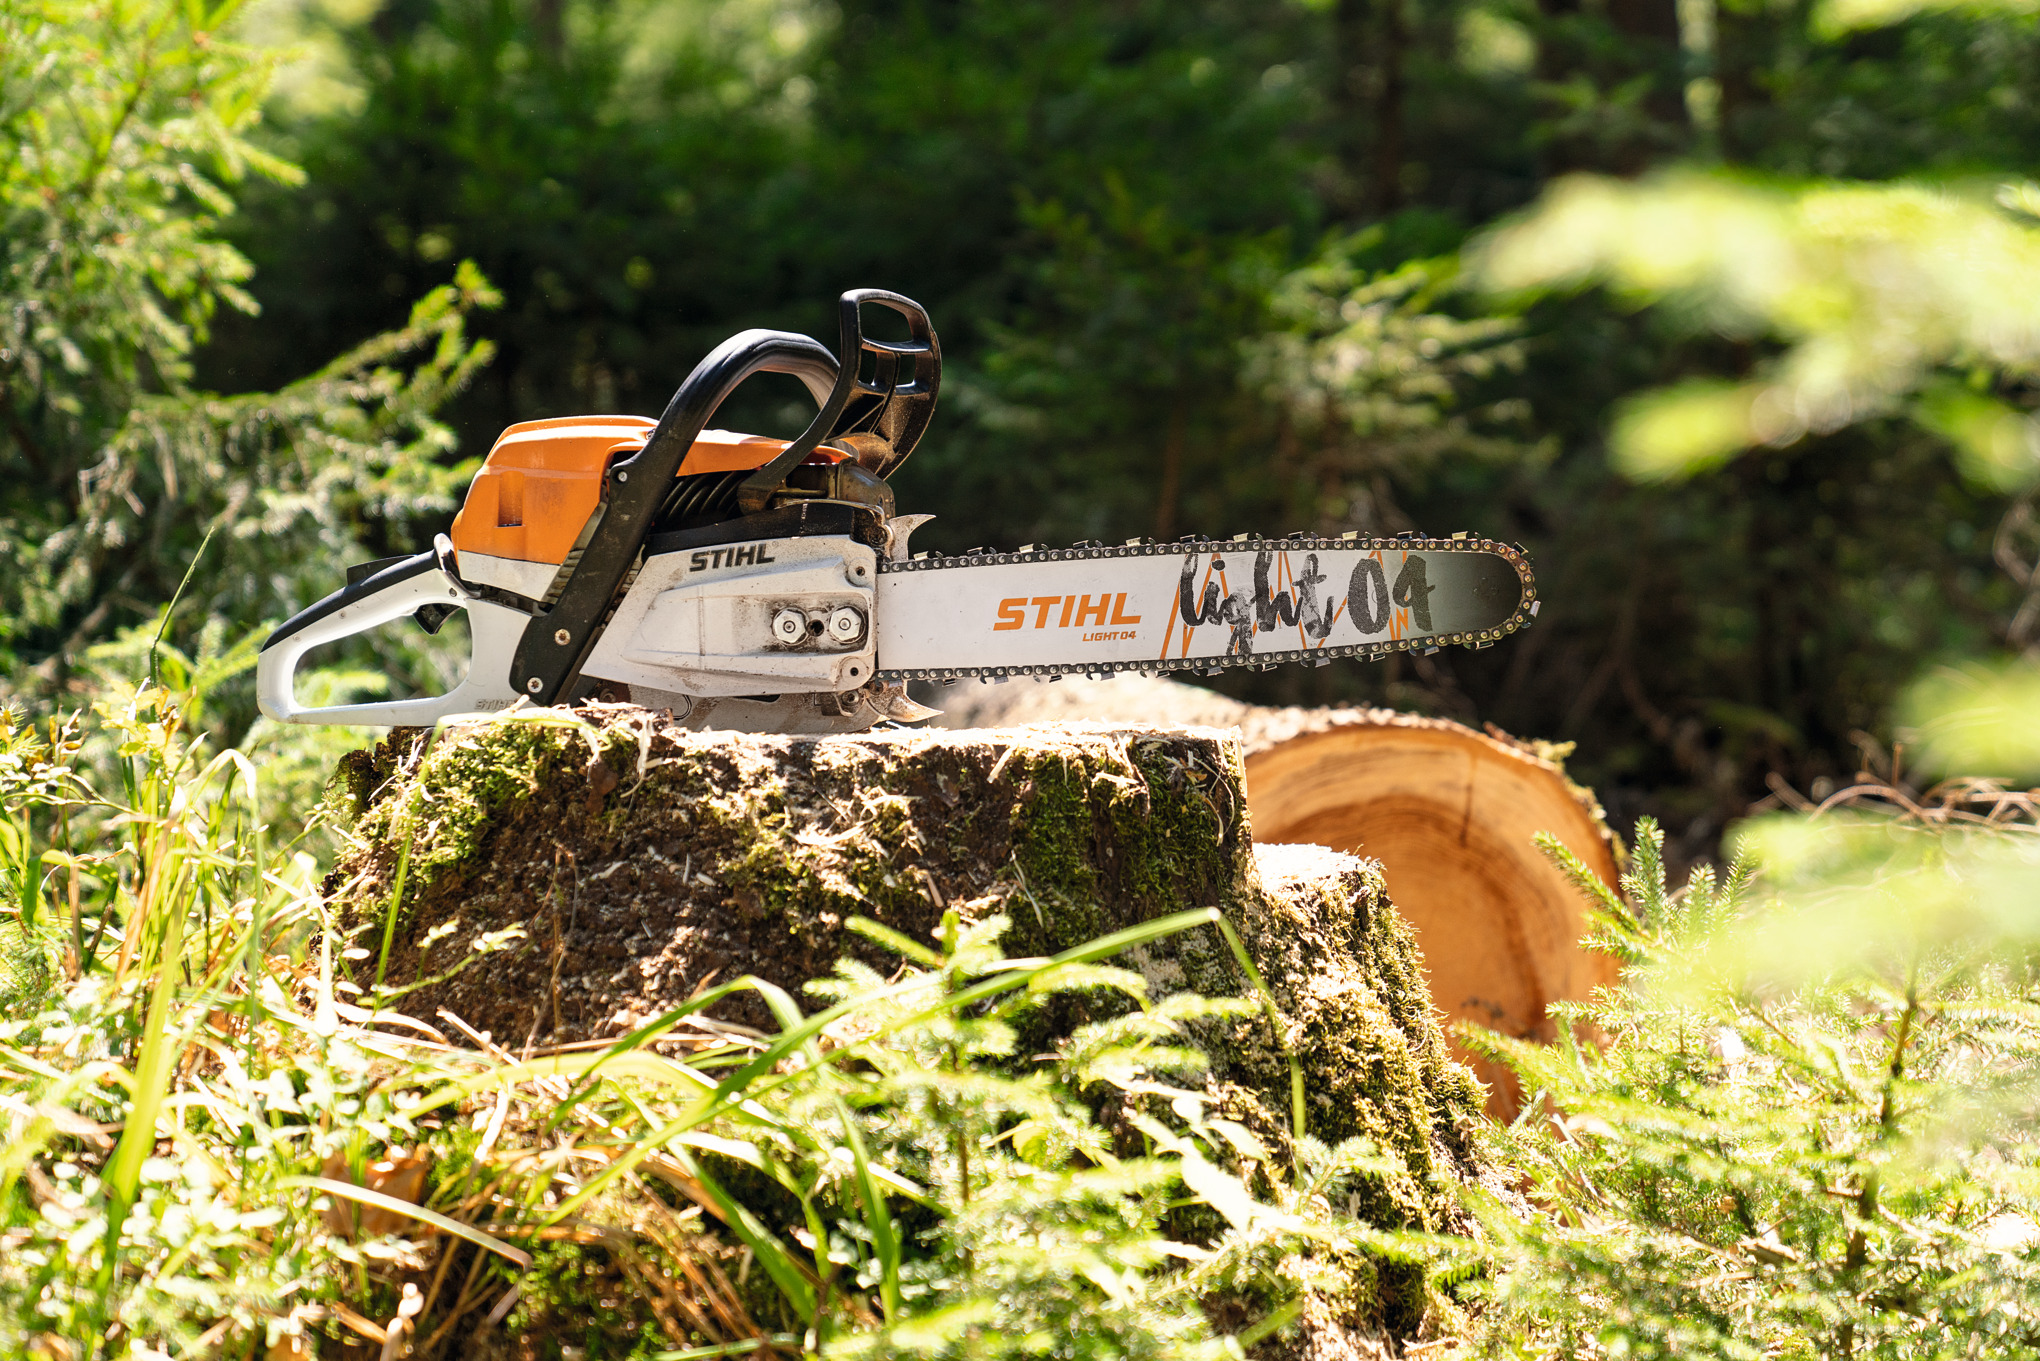
Using powerful tools in your DIY is fun and means you can extend your abilities, which is great as long as you are relying on effective and safe protective clothing while using them. Always wear personal protective equipment when working with your chainsaw. This includes a helmet, cut protection trousers, safety boots, and more. The owners manual for your product contains more details on this. Fully familiarise yourself with the tool before you use your chainsaw for the first time, and check it is in flawless condition before each use. On request, your STIHL dealer will be happy to prepare your tool for its first use, and will also advise you on models and sizes of protective clothing that you can try at your leisure. Please remember that personal protective equipment is no substitute for safe working techniques.
Full DIY power

Chainsaws for your wood planter box DIY
Having the right tool is essential for fun and successful DIY projects.
DIY wood planter box: materials
Materials for planter
- A log, approximately 30 to 35 cm in diameter
- 2 smaller logs to use as feet (approximately 30 cm long and 20 cm in diameter)
- Pond liner
Tools
- STIHL chainsaw
- Axe
- Drill
- 4 screws (approximately 150 mm long)
- Sawhorse and tensioning belt

DIY wood planter box: step-by-step instructions
With your materials and tools ready, you can start on the DIY. Ensure your surroundings are safe before you use the chainsaw, with no trip hazards or other dangers.
- Secure the larger piece of wood so that it doesn’t roll away, using wedges for example.
- Mark the opening on the top of the log and note how deep you need the hollow to be. Leave around 15 cm intact at each end of the log.

- Saw the short edges first; they should be set in about 15 cm from the ends of the log.
- Saw the long sides next. Start by marking them out with a shallow cut.
- Then hold the saw upright at one end of the line and keep plunge cutting into the wood with the tip until you reach the depth you want.
- Cut along the rest of the line.
- Keep the saw vertical and move the saw along until you reach the shorter cut you have already made.
Caution:
This method of working has an increased risk of kickback. Make sure you always follow the safety guidance in the operating instructions, and only use this technique if you’re familiar with it.

The outer walls of the planter are ready, now you need to take out the middle. Make 3 or 4 cuts parallel to those you have made for the long walls, to the same depth. Then make a few diagonal cuts into the part you need to remove.

- Remove the resulting pieces of loose wood using an axe.
- Tidy up the planter cavity with the axe or chainsaw, removing any remnants of the removed blocks, wood fibres or minor irregularities.
- Saw right through to the base in multiple places so that your DIY planter box has adequate drainage.
- When cutting through the bottom of the wood, support the planter off the ground in such a way that you don’t hit the ground with your chainsaw and damage the chain.

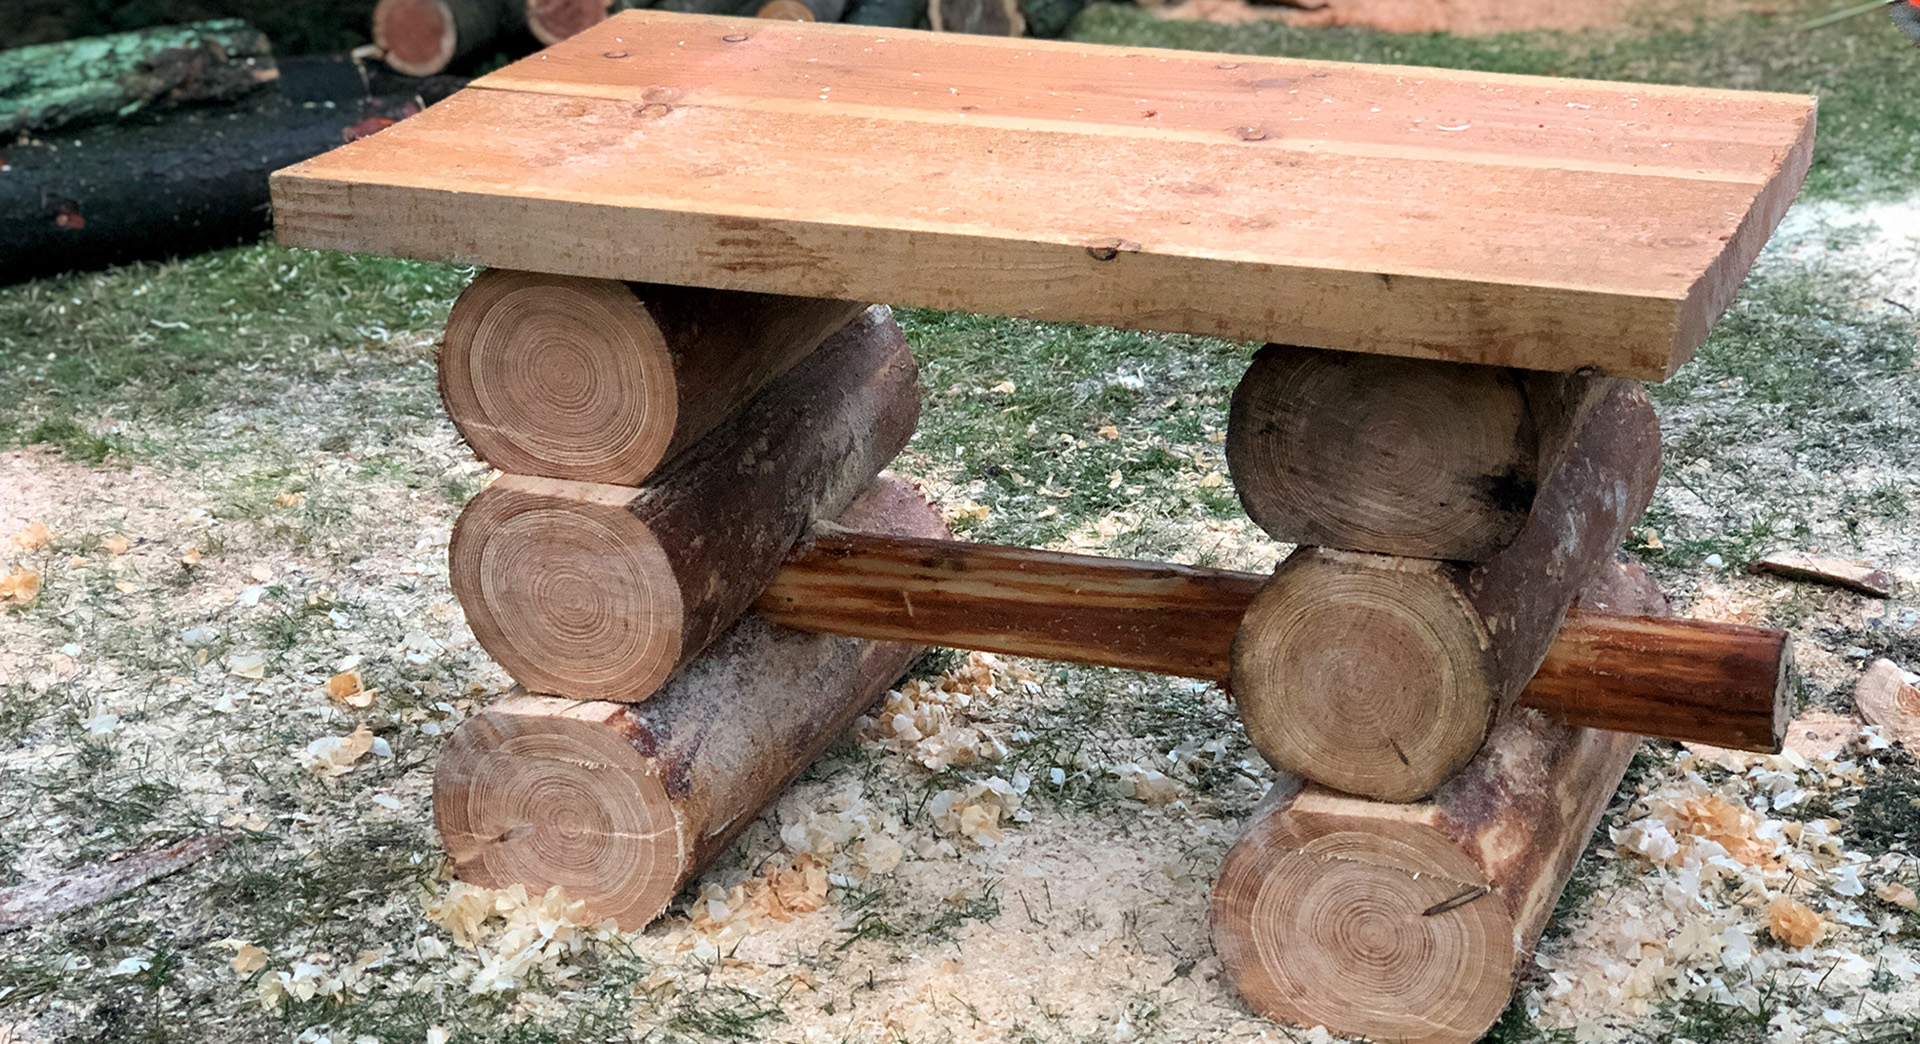
To make the feet you must first fix the smaller logs to a sawhorse. Make a v-shaped cut in the middle of each log; fit the planter on top and fix it in place with screws.


Keeping your DIY wood planter box in good condition
It goes without saying that you want your new rustic wood planter box to last as long as possible. That means doing your best to protect it from liquids and moisture.
- A wood stain will protect it from decay and mould.
- Raise your planter up on plastic feet to stop the wood from being affected by ground moisture.
- Use pond liner to line the inside of the planter and protect it when watering your plants. Remember to make holes in the pond liner for drainage though; these should line up with the drainage openings in the planter.
- If you have used a debarked log for your planter, seal the outside with a weatherproof varnish.
Tips for growing herbs in your DIY wood planter box
Your new wood planter makes an ideal herb garden. If you fill it with high-quality soil and take care of your plants, you’ll soon be harvesting salad and garnishes from your own planter. What you can grow somewhat depends on your soil and climate, but we’ve put together some ideas to inspire you.
Parsley
Parsley is a classic culinary herb. You can grow parsley very easily in spring and summer as it likes a bright spot but doesn’t need direct sunlight.
Chives
This perennial spring herb is one of the most popular garden herbs and makes a delicious addition to salads and sandwiches. Chives are a moderate feeder and as such will grow in nearly any nutrient-rich soil.
Basil
Basil is not easy to grow, but amateur gardeners may wish to give it a go as a challenge. This herb needs a bright spot and lots of water. Get hold of seeds for bush basil – this type is more resilient than the sweet basil that you typically get in the supermarket.
Mint
Mint needs to be harvested in summer and cut back in winter. This aromatic plant grows like mad so it’s best to give it a planter of its own.
Summary: DIY wood planter box
- Choose a suitable weather-resistant wood for your planter box, like larch or spruce
- To make your planter, you will need one large log and two smaller ones
- Always wear personal protective equipment when doing DIY with your chainsaw. You can find details in the owners manual for your tool
- Make your planter by creating a hollow cavity in the larger log
- Pond liner with drainage holes will protect the wood while preventing your plants from becoming waterlogged
- Attach feet to the planter to make it stable
- Seal or varnish the wood of your planter so it lasts longer
- Your planter is ideal for herbs like parsley, basil, chives and mint


