How to Build a Wooden Raised Bed for Your Garden
Home-grown veg is an unbeatable pleasure, and a raised bed is an efficient growing space that makes the task easier. Find out how to build your own.
04.12.2025

The special joy of gardening in a DIY raised Plant bed
Building a raised garden bed from wood is a satisfying project to tackle, and you’ll appreciate the results for many seasons to come. One of the special things about choosing to build your own raised bed is that you don’t have to compromise when it comes to design: we’ve put together two sets of DIY instructions, so you can choose to build from planed timber boards or rustic logs. Decide which best suits you and your garden, or which materials you are able to obtain; whichever type of raised bed you choose, we wish you much happy harvesting of tasty crops.
Preparation: choosing materials
When choosing what timber to build your raised garden beds from, opt for robust, hard woods such as Douglas fir, larch or robinia; soft woods such as birch, poplar and alder are not suitable.
Preparation: planning your raised garden bed
Garden, terrace, or balcony: consider the location of your raised bed before you start to build it. To use the bed effectively, you should be able to easily access all sides of it. We recommend a maximum width of 140 to 160 cm for a free-standing bed and 70 to 80 cm if you build your bed against a wall. The recommended working height is around 70 to 100 cm depending on the user’s height. Remember to check that there are no tall plants nearby, as these will cast shade on your raised bed, which is not great for growing. Once you have found the right location, you can start to build your raised bed.
Committed to your safety: protective personal equipment
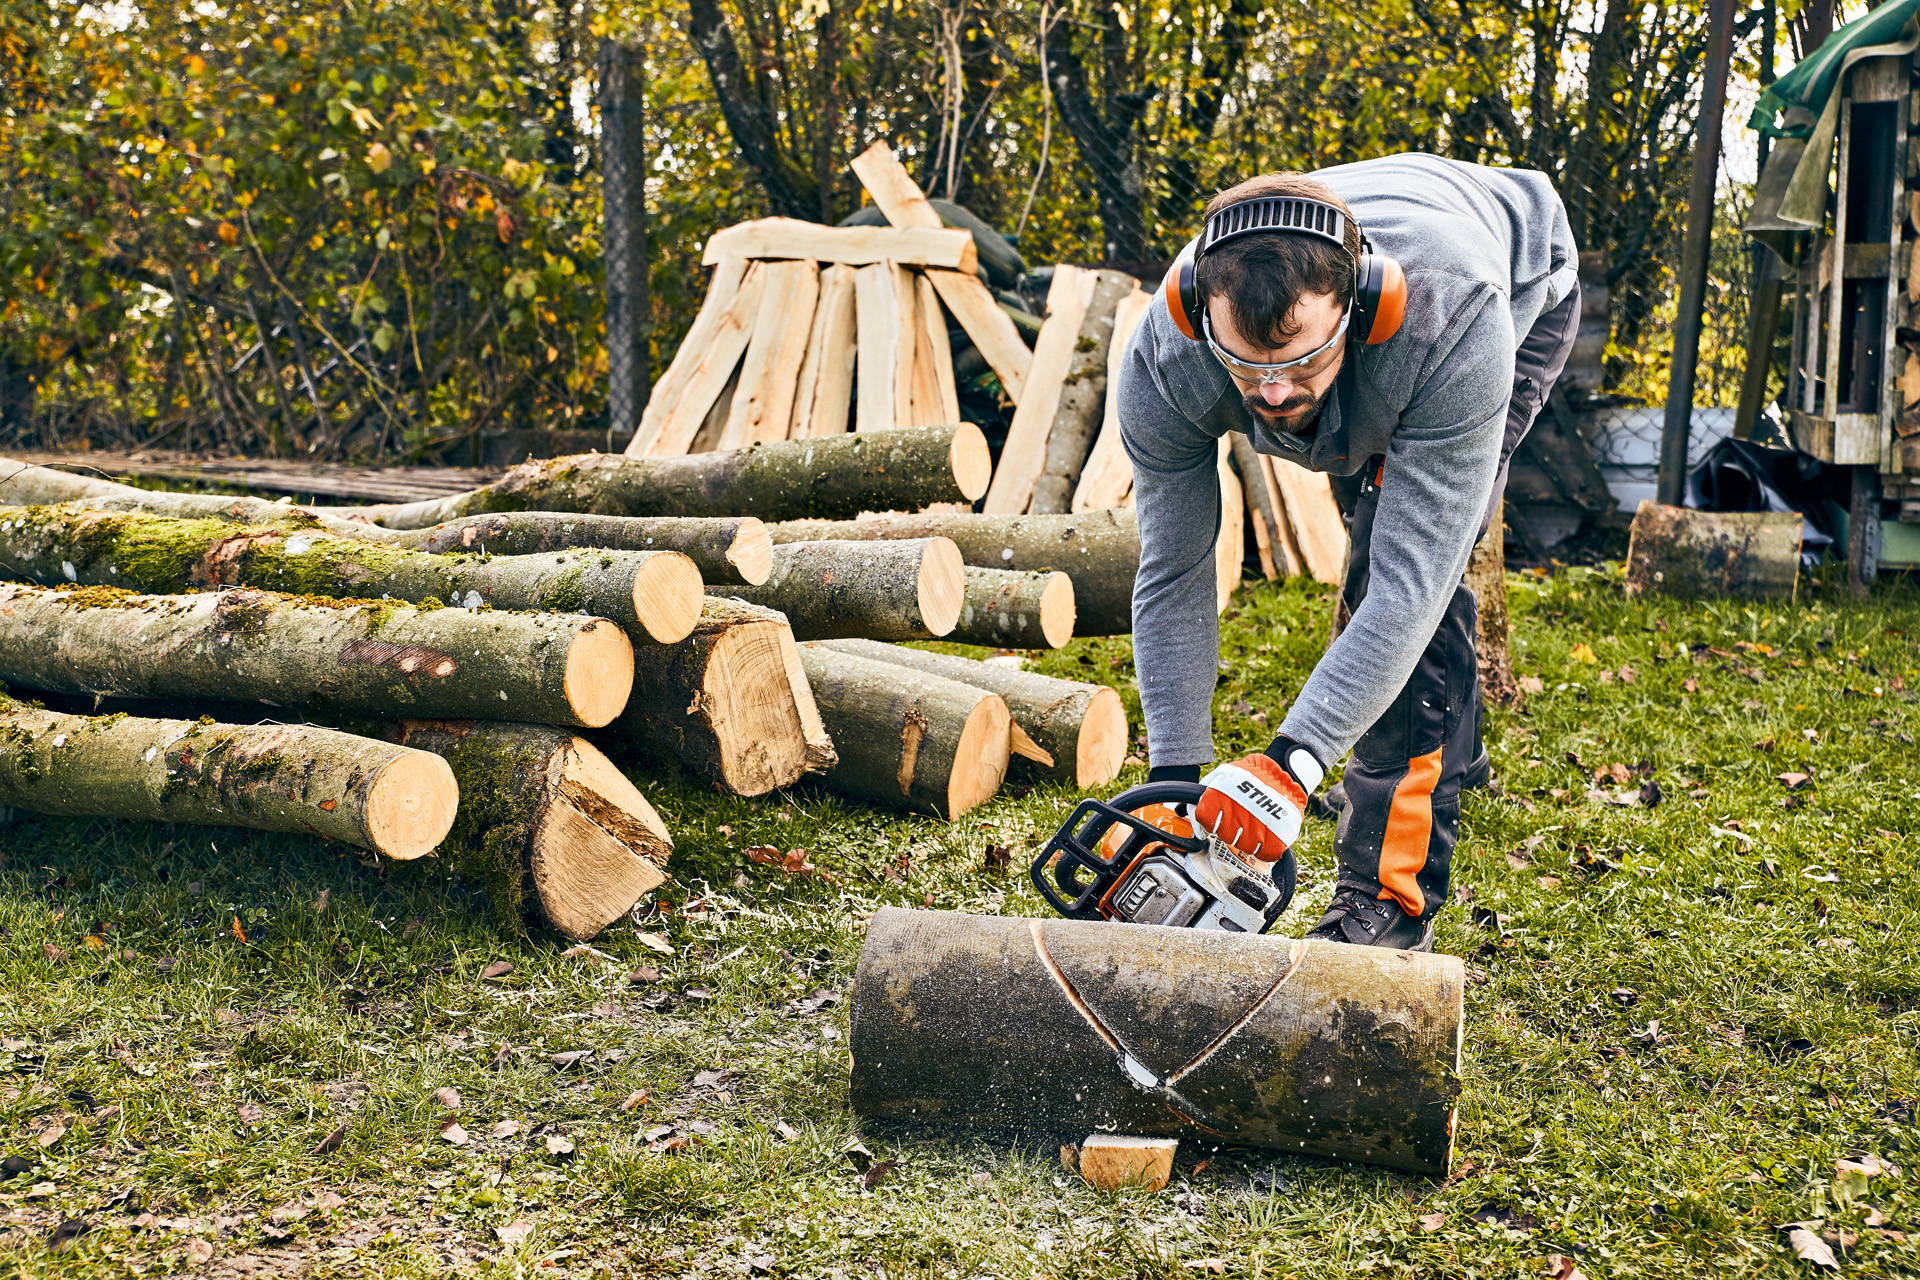
Using powerful tools in your DIY is fun and means you can extend your abilities, which is great as long as you are relying on effective and safe protective clothing while using them. Always wear personal protective equipment when working with your chainsaw. This includes a helmet, cut protection trousers, safety boots, and more. The owners manuals for your products contains more details on this. Fully familiarise yourself with the tool before you use your chainsaw for the first time, and check it is in flawless condition before each use. On request, your STIHL dealer will be happy to prepare your tool for its first use, and will also advise you on models and sizes of protective clothing that you can try at your leisure. Please remember that personal protective equipment is no substitute for safe working techniques.
Build a DIY raised plant bed from boards
Wooden boards are a simple and smart material for building a sturdy wooden raised bed. We explain how to do it step by step.
Preparation: tools and materials
- Boards and posts
- Edging stones
- Garden pruner, e.g. STIHL GTA 26
- Spade
- Staple gun
- Utility knife
- Cordless screwdriver
- Tape measure or metre rule
- Spirit level
- Screws
- Wire mesh
- Pond liner or waterproof membrane
- Aluminium angle
How to build a DIY raised Plant bed from boards

Step 1: dig out footings
First mark out the area where you want to build your raised bed, using stakes and string – make sure your corners are square. Then use a spade to dig out the top 10 cm of the lawn.
STIHL professional tip: Don’t throw away the turf you lift, but put it to one side. It will come in handy when it’s time to fill your raised bed so that it supplies plants with the necessary nutrients and structure.

Step 2: fit edging stones
Line the walls of the trough you have made with edging stones. These will protect the raised bed you build from ground moisture, as well as ensuring it is not damaged if you use a lawn trimmer. Check the stones are flat with a spirit level.

Step 3: fit the uprights
Use a STIHL GTA 26 garden pruner to cut the wooden posts to the required length: if you want to build a raised bed that is 1 metre tall, saw the post to a length of 1.1 metres to account for the 10 cm of footings that you have dug out. Then stand 4-6 posts inside the edging stones, with one post in each corner and an additional one per metre.
STIHL professional tip: Saw recesses at the bottom of the posts so they fit over the edging stones.

Step 4: cut wood and fit base boards
Use a garden pruner to cut wooden boards to the right length for the side panels of the raised bed. Fix the bottom row of boards in place by screwing them to the upright posts.

Step 5: attach wire mesh and build up sides
Lay wire mesh at the bottom of the raised bed so that it extends above the edging stones. If there is too much wire, just cut it off or fold it over. Staple the wire securely to the wooden boards. Then build up the sides by screwing boards in place all the way to the top of the upright posts.

Step 6: attach liner
Now line the inner wall of the raised bed with pond liner or waterproof membrane and secure it with nails.

Step 7: finishing touches
For a smart finish, use extra boards to create a border that covers the top of the posts and the board edges. If you find you have protruding boards at the corners, just trim them flush. Last but not least, fit some aluminium angle to finish the vertical corners of your raised bed. Your raised bed is now finished and ready for planting.

How to build a DIY raised bed from logs
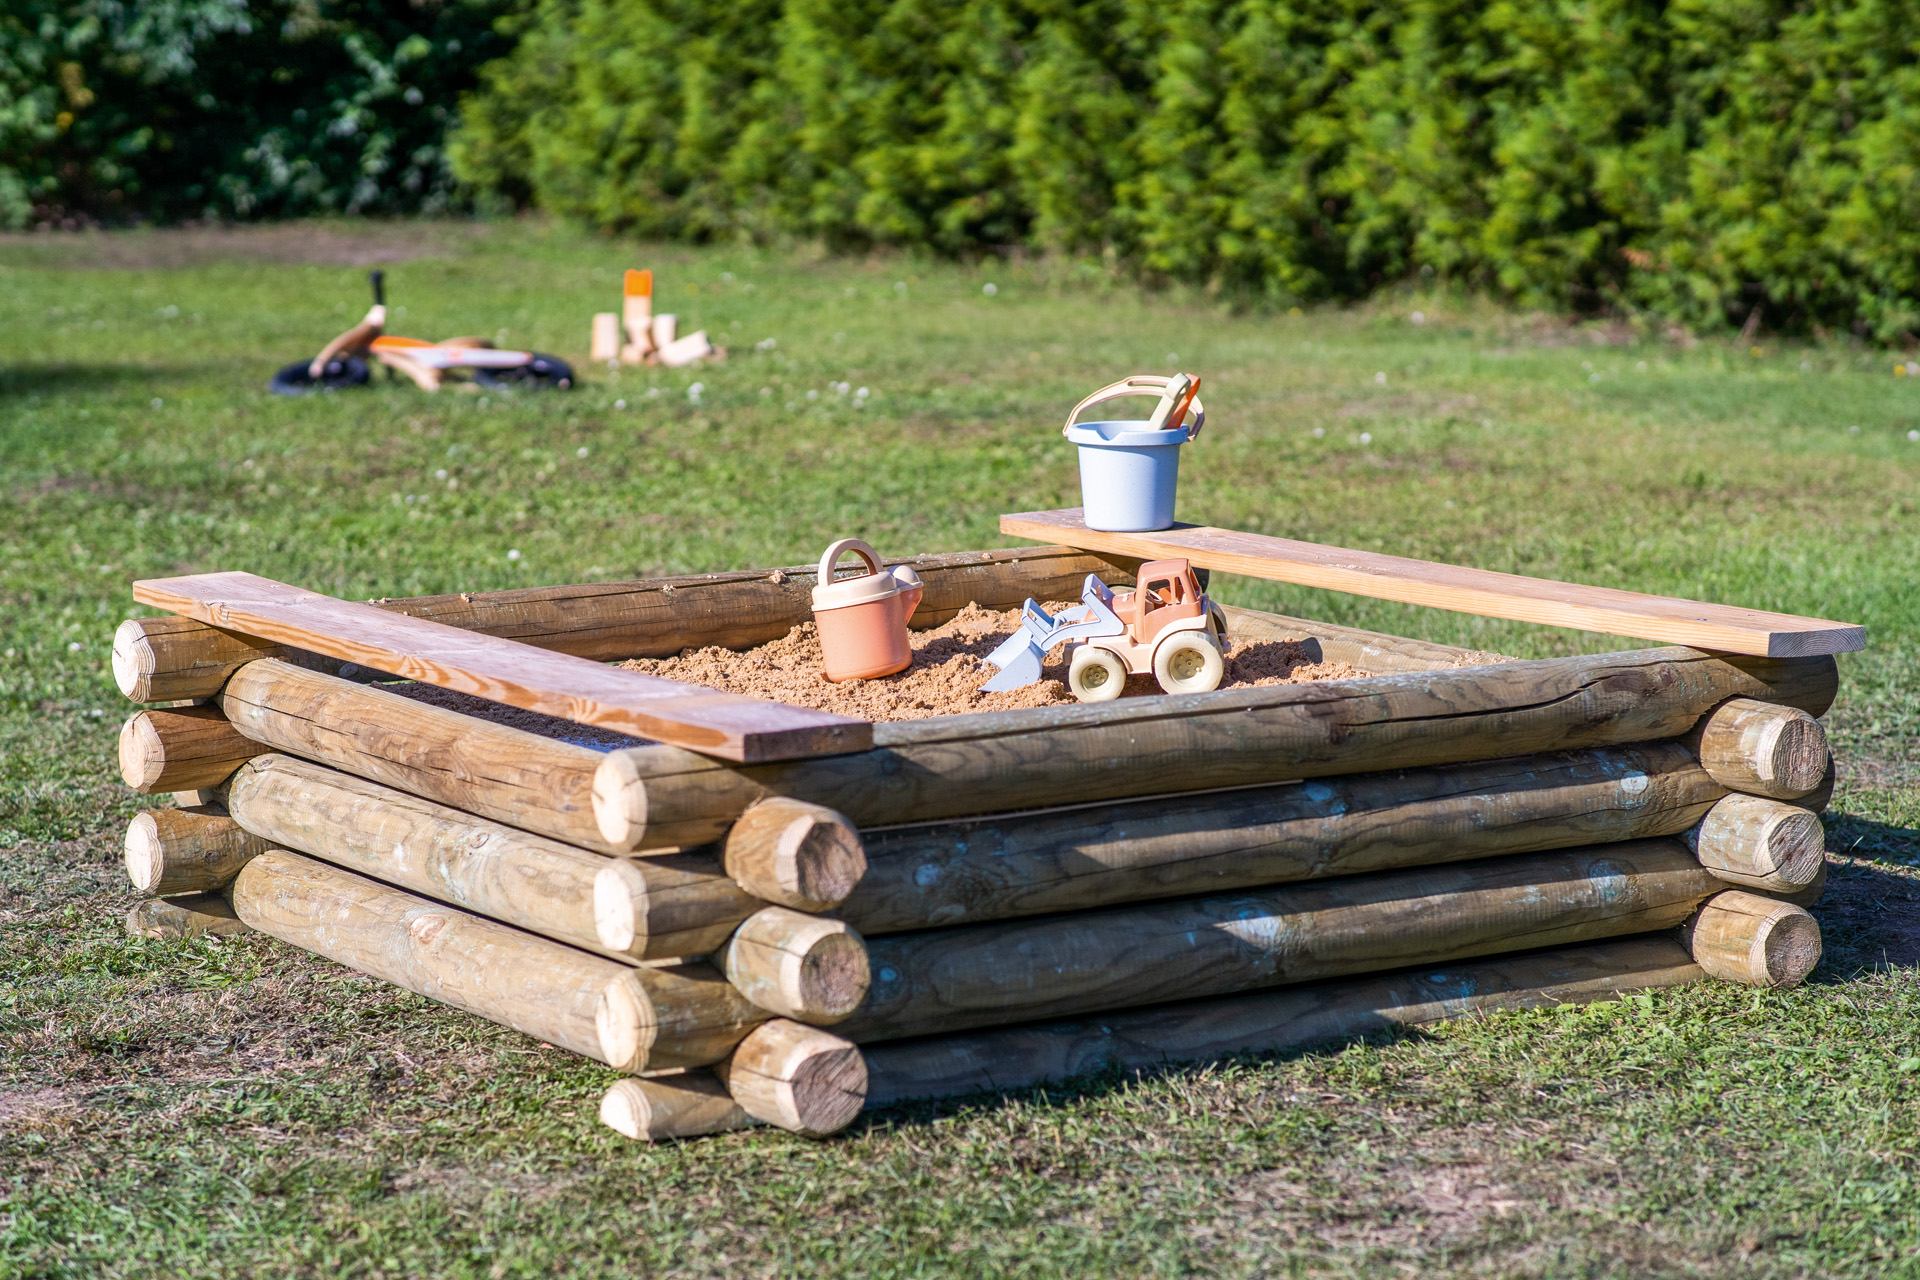
Looking for something a little more rustic? Logs also make great materials for a DIY planter bed. It is advisable to remove the bark from the logs before you build the raised bed; this is because the bark weathers faster than the wood itself, so your bed could start looking tatty before its time.

Preparation: tools and materials
You will need the following tools and materials to build a raised garden bed from logs:
- Logs
- A chainsaw, e.g. STIHL MS 171
- Sawhorse (optional)
- Tensioning belt
- Tape measure or metre rule
- Chalk/pencil for marking
- Wire mesh
- Wood screws
STIHL professional tip: The diameter of the wooden trunks you need depends on the size of raised bed you want to build: the taller the raised bed you’re planning, the thicker the logs should be. Thicker wood generally ensures better stability for the structure; please also note that it will require longer screws.

Step 1: split the wood lengthways
Wooden trunks will form the side walls of your raised bed, and the first step is to split them with a chainsaw. The taller you plan to build the bed, the more pieces of wood you will need to split lengthways. Sawing through the trunks requires precision and is no simple task – here are some tips to help you manage it with ease.
- Mark where the chainsaw needs to cut along the faces and long sides of the wood.
- With the trunk on the floor, cut vertically with your chainsaw to halfway through the thickness of the truck. Cut along the marked line in this way.
- Turn the wood over and repeat the vertical cut from the other side to the centre, so it meets your first cut.
Caution: When sawing, please be sure to prevent the guide bar from accidentally hitting the ground. If necessary, use a felling lever to raise the log up. Important: You must secure the log, using wedges for example, to ensure that it does not accidentally roll away while you are sawing.
Once the wood to build the sides of your raised bed is ready, it’s time to move on to the next step: making the corner pillars and cutting the split logs to length.

Step 2: cut the corner pillars and sides
You will use four corner pillars to build your wooden raised bed, and these are simply made from pieces that haven’t been split. Cut the pillars to the required build height – a sawhorse is useful for this. Where possible, it’s not a bad idea to set these four pillars into the ground for better stability; if you wish to do this, add 10 cm to the length.
STIHL professional tip: Add together the diameters of the logs you have already split. The sum of these measurements will be the height of the raised bed you build, and as such also the length you need the corner pillars to be.
Take the pieces you’ve already split and cut them to the right length for the sides, until you have enough cut pieces to build to your desired bed height. Take care not to make them too short here; excess material can be sawn off later so that the surfaces of your raised garden bed are flush. Now you have all the materials ready to build your wooden raised bed. The next step concentrates on making sure your bed stands securely.

Step 3: build the foundation
It takes just a few simple steps to build a foundation for your raised bed.
- Put the corner pillars in place and set them into the ground if possible.
- Use fine-meshed wire to line the area you have marked out – this is to prevent unwanted rodents and other visitors making their way from below into the bed you build.
- Set out the first, lowest row of split logs with the flat side facing inwards. Screw these to the corner pillars, in each case driving the screws from the outside, through the wall material, and into the pillar.
STIHL professional tip: Use the widest pieces of timber to build this bottom row.
Now that your foundation is in place, you need to build the walls by stacking logs to the same height as the corner pillars. You can find out how in the next step.

Step 4: assemble the sides
The foundation of your wooden raised bed is built, so now all you need to do is assemble the sides. Stack the split logs up to build the side walls, starting with the thickest. Alternate the orientation of the wood as you build, for a uniform structure: log base on the left, tip on the right, then vice versa. Screw the ends of each piece of wood to the corner pillars to secure. Once you have finished this, you can move on to the precision work for your raised bed.

Step 5: finishing touches
Once you have built your raised bed to the desired height, saw off protruding logs and edges so they are flush and tidy. You can also use the chainsaw to round off the corners – not only does this look better, but it reduces the risk of injuring people as they walk past.

Planting raised garden beds
After making your DIY raised planter bed, you need to fill it and get growing. Our article shows you how to layer filling material in your raised bed, and what to consider when planting.
Summary: how to build a raised bed
- A raised bed is ideal for growing vegetables or herbs at a comfortable working height
- You can use logs or wooden boards to build a raised bed
- Before you can start to build, you need to choose the right wood, the right size and a sunny location
- When working with power tools, wear personal protective equipment as specified in the operating instructions
- Prepare the footings for the raised bed, place posts at the corners, and build up the sides by securing wooden boards or split logs around them
- After you have built the raised bed, fill it and plant it


