DIY wooden Christmas tree
A DIY wooden Christmas tree is a sustainable and eco-friendly option for the holiday season and provides years of joy – we show you how to make one.
09.04.2025
Why it’s worth choosing a sustainable Christmas tree
There are many advantages to building your own DIY wooden Christmas tree – no dropped needles, lower costs and a more environmentally friendly choice.
Most conventional Christmas trees are unsustainable as they are grown on plantations; these cause habitat loss for wildlife and add pesticides to soil, with many tonnes of carbon dioxide emissions generated annually during transport.
Organic trees are one popular alternative these days. However, making your own Christmas tree is even more eco-friendly and sustainable. With our instructions, you can learn how to build your own wooden Christmas tree and enjoy it for years to come.
Materials and tools
Get the right materials and tools to build this Christmas tree yourself. Once you’ve done that, you can get started. Enjoy!

- Section of tree truck, about 25 centimetres long and about 20 centimetres in diameter
- 30 to 35 branches of different lengths, with a diameter from 2.0 to 2.5 centimetres
- Two pieces of wooden slat
- Four screws
- Chainsaw, e.g. STIHL MSA 120 cordless chainsaw
- Garden pruner, e.g. STIHL GTA 26 cordless garden pruner
- 1-metre-long M10 threaded bar
- Measuring stick
- Pen or light crayon
- Cordless screwdriver plus wood drill (10-millimetre)
- Two clamps
Working with high-performance power tools is fun and allows you to broaden your skills, which is great if you can rely on effective and safe protective clothing. Always wear your personal protective equipment when working with STIHL power tools. Find out more in the owners manuals for your product. Before using your power tool for the first time, fully familiarise yourself with it and ensure that it is in flawless condition before each use. On request, your STIHL dealer will be happy to prepare your power tool for its first job, and will also advise you on models and sizes of protective clothing that you can try on at your leisure. Please remember that personal protective equipment is no substitute for safe working.
Instructions: Build your own wooden Christmas tree
Want to build your own timeless, sustainable wooden Christmas tree? Read the step-by-step instructions below to find out how.
Before you get started...
First, create a suitable working surface to prevent the tree section from rolling away. A piece of trunk with a notch sawn into it is one suitable option, for example. You should also secure the workpiece to the work surface from two sides, each with a piece of wooden slat and two screws.
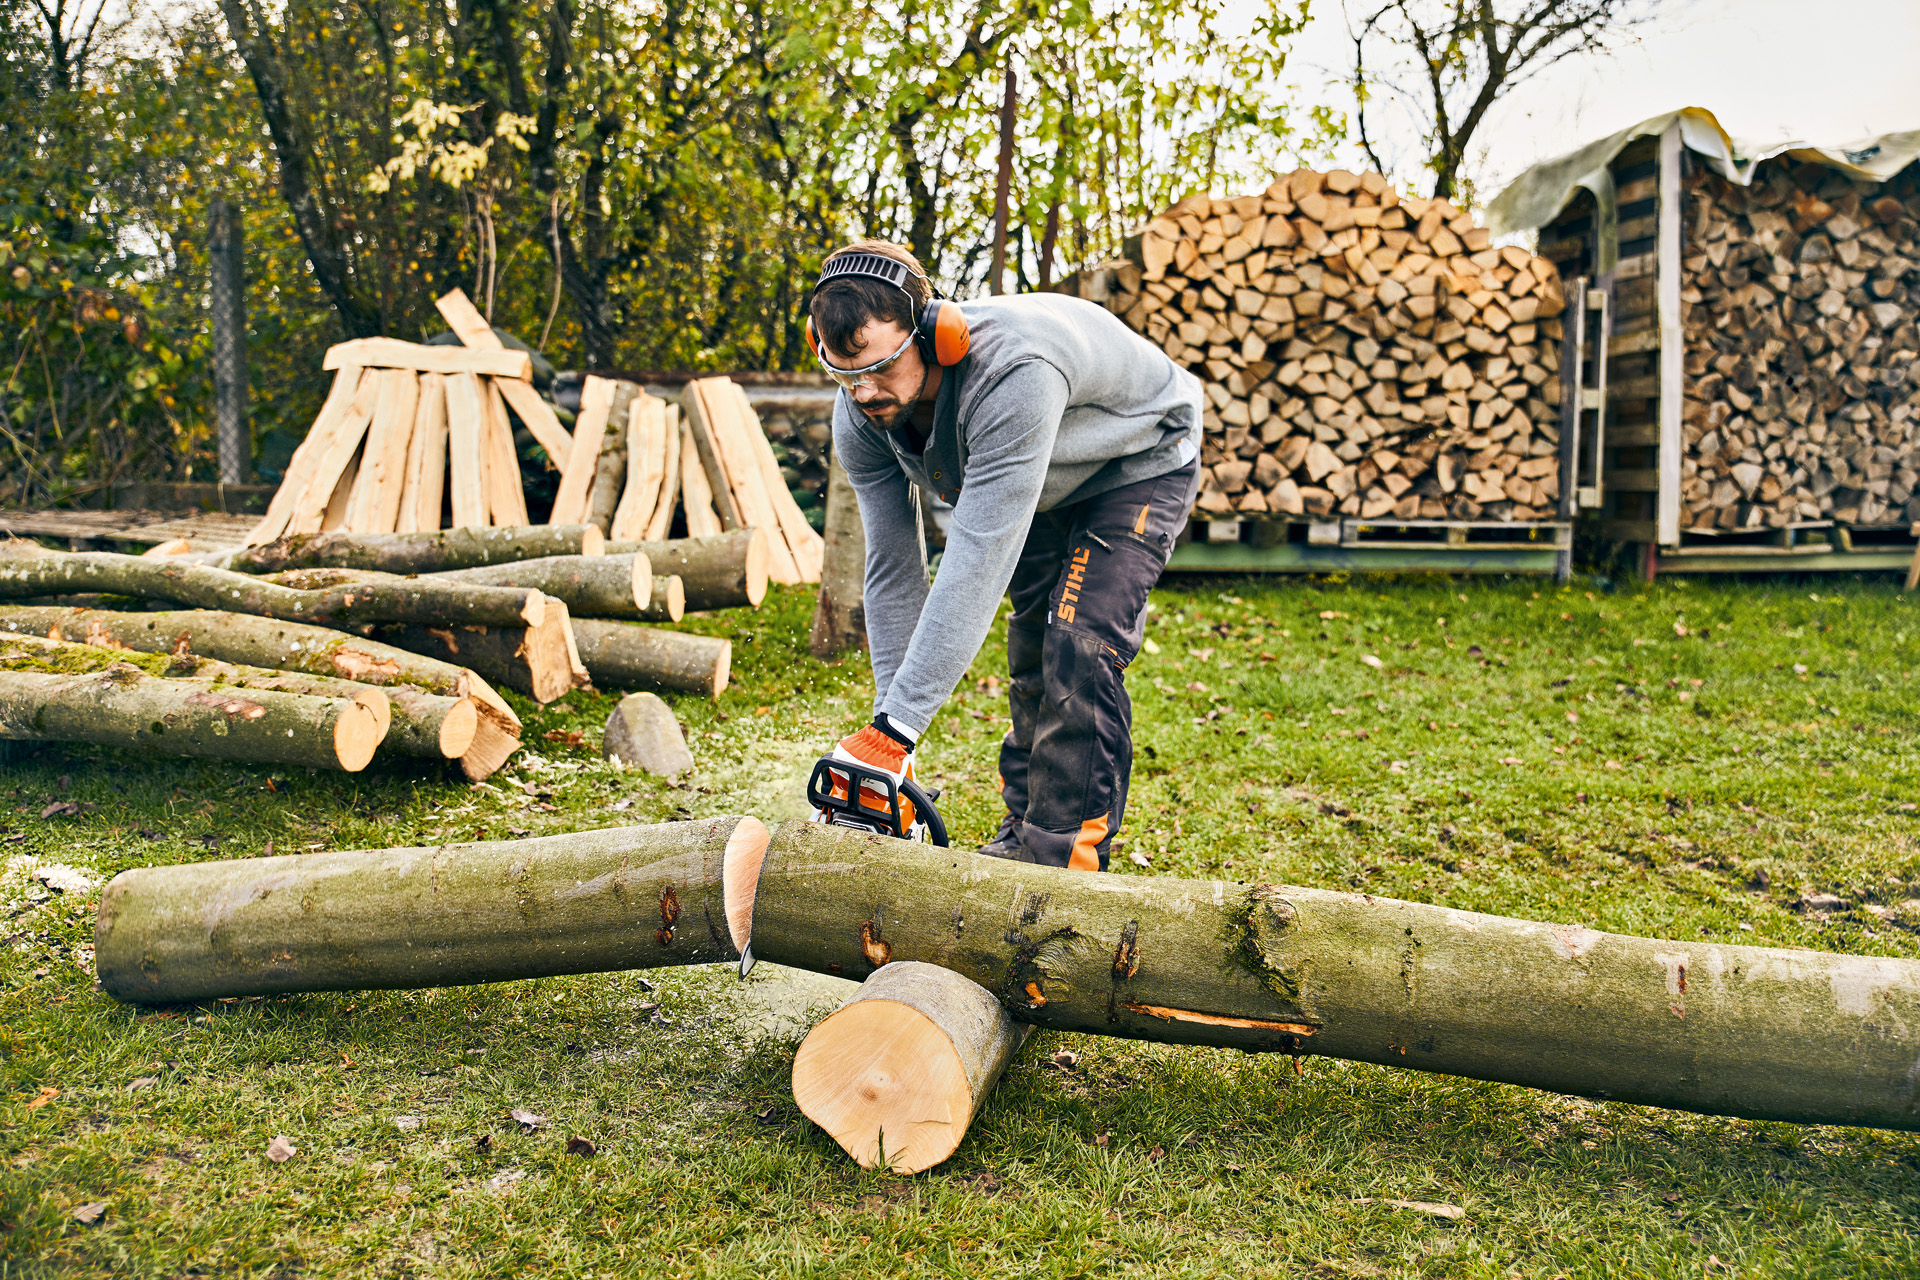
To make your own DIY wooden Christmas tree, use a cordless chainsaw such as the STIHL MSA 120 to cut the trunk section to a length of just over 25 centimetres. Depending on the desired height of the tree, you could also cut it a few centimetres longer. Make sure to cut straight so that your Christmas tree will be stable later.

Now drill a hole in the centre of the trunk piece that is the same diameter as the threaded bar. In our example, the diameter is 10 millimetres. The drilling depth should be 5 centimetres so that the threaded rod is firmly fixed into the base.

Specify the final lengths you want the branches to be. Start with about 10 centimetres and increase the length several times, by 5 centimetres at a time. You can choose the dimensions to suit your personal taste.

Then, secure the branches to a stable work table using clamps and trim them with the garden pruner to build your Christmas tree.

Across the width of each branch, drill a hole that is the same diameter as the threaded rod – 10 mm in this case.

Now, insert the threaded bar into the drilled base hole. To do this, use a hammer to carefully tap the bar into place.

Place the branches on the threaded rod – first the longest ones, then in order to the shortest. Your tree will look particularly lovely if you offset the branches slightly as you add them. Your DIY wooden Christmas tree is ready!
STIHL tip: Your Christmas tree should now stand securely. If you want to add extra support, you can build a matching Christmas tree stand yourself.

Tools and cut protection for your woodwork
Decorating and storing your wooden Christmas tree
To decorate your DIY Christmas tree, you can attach a star to the top as a beautiful finishing touch. It’s up to you whether you make your star out of plywood or cardboard, or buy it. The branches can be decorated with straw stars, pine cones or baubles. Whether you prefer something simple or lavish, there are no limits to what you can do.

When the Christmas season is over, simply store your Christmas tree in a dry, well-ventilated location until the next winter – or leave it where it is and give it a new purpose.
Easter eggs or wooden eggs can be hung on the branches, and the tree can even be used all-year-round as a practical holder for jewellery and small ornaments.


/catalogue/stihl-catalogue-2019-(master)/cutting-attachments/6250c0016350403c865730b8d47596d9.jpg)
