How to Clean A Hedge Trimmer
Hedge trimmers accumulate a lot of dirt when used. Knowing how to properly clean it is part of the secret to a long life for your tool.
18.03.2025

Overview: cleaning your hedge trimmer
- It is recommended to secure your hedge trimmer for a basic clean after each use
- It is best to deep clean the tool before extended storage
- Essential: personal protective equipment as specified in the operating instructions
- For petrol hedge trimmers, you must also clean the air filter, fuel tank and intake opening
- Be aware of the effects of petrol-driven and battery tools being out of use for a long time
Regular cleaning protects your hedge trimmer from wear and keeps it in good working order. Blades accumulate sap, resin, and dirt during use, which can impair performance if left uncleaned. Cleaning prevents clogging from branches and leaves and stops rust from forming on stored tools.
Neglecting to clean your hedge trimmer can lead to sticky residues affecting cutting performance. Dirt and debris can clog the cutting attachment, and unclean tools can develop rust during storage, reducing longevity and efficiency.
First use a brush to remove coarse dirt from the cutting attachment, then spray the hedge trimmer with resin cleaner. Finally, wipe the housing, battery and charger with a damp cloth.
For safety reasons, you should always unplug an electric hedge trimmer before cleaning it.
Spraying the cutting blade with a little resin cleaner effectively removes resin and rust from your hedge trimmer. Remember to run your hedge trimmer briefly so that the resin cleaner is well distributed on the teeth and in the gaps between them.
To clean a hedge trimmer effectively, start by detaching the cutting blades from the machine. First, brush off any dirt and dust from the blades. Then, clean the cutting blades with a resin remover. If needed, sharpen the hedge trimmer blades afterward. Finally, treat the clean and sharp blades with a maintenance oil, reattach the cutting blades to the machine, and fit the appropriate protective cover.
How to clean your hedge trimmer: materials
You’ll need the following materials and tools to get your hedge trimmer properly clean and protected:
- Brush
- Soft cloth
- Maintenance oil and resin solvent
- Screwdriver (for deep cleaning)
- Safety glasses
- Gloves made from robust material
How to clean your hedge trimmer: preparation
Before you start cleaning your hedge trimmer, you need to take a few safety precautions.
Make sure that your tool is switched off and cannot start again while you are working on it.
- For a petrol hedge trimmer: remove the spark plug.
- For an electric hedge trimmer: disconnect the plug.
- For a battery hedge trimmer: remove the battery.
- For a hedge trimmer with integrated battery: switch off the hedge trimmer and remove the activation key.
Keep safety in mind, and always wear sturdy gloves and safety glasses to prevent injury when you’re cleaning your hedge trimmer. The operating instructions for your hedge trimmer include more safety information that you should familiarise yourself with.
How to clean hedge trimmer blades after each use
After using your hedge trimmer, take a few minutes to inspect and clean it every time. Give the cutting attachment particular attention, as this part is most exposed to external influences.
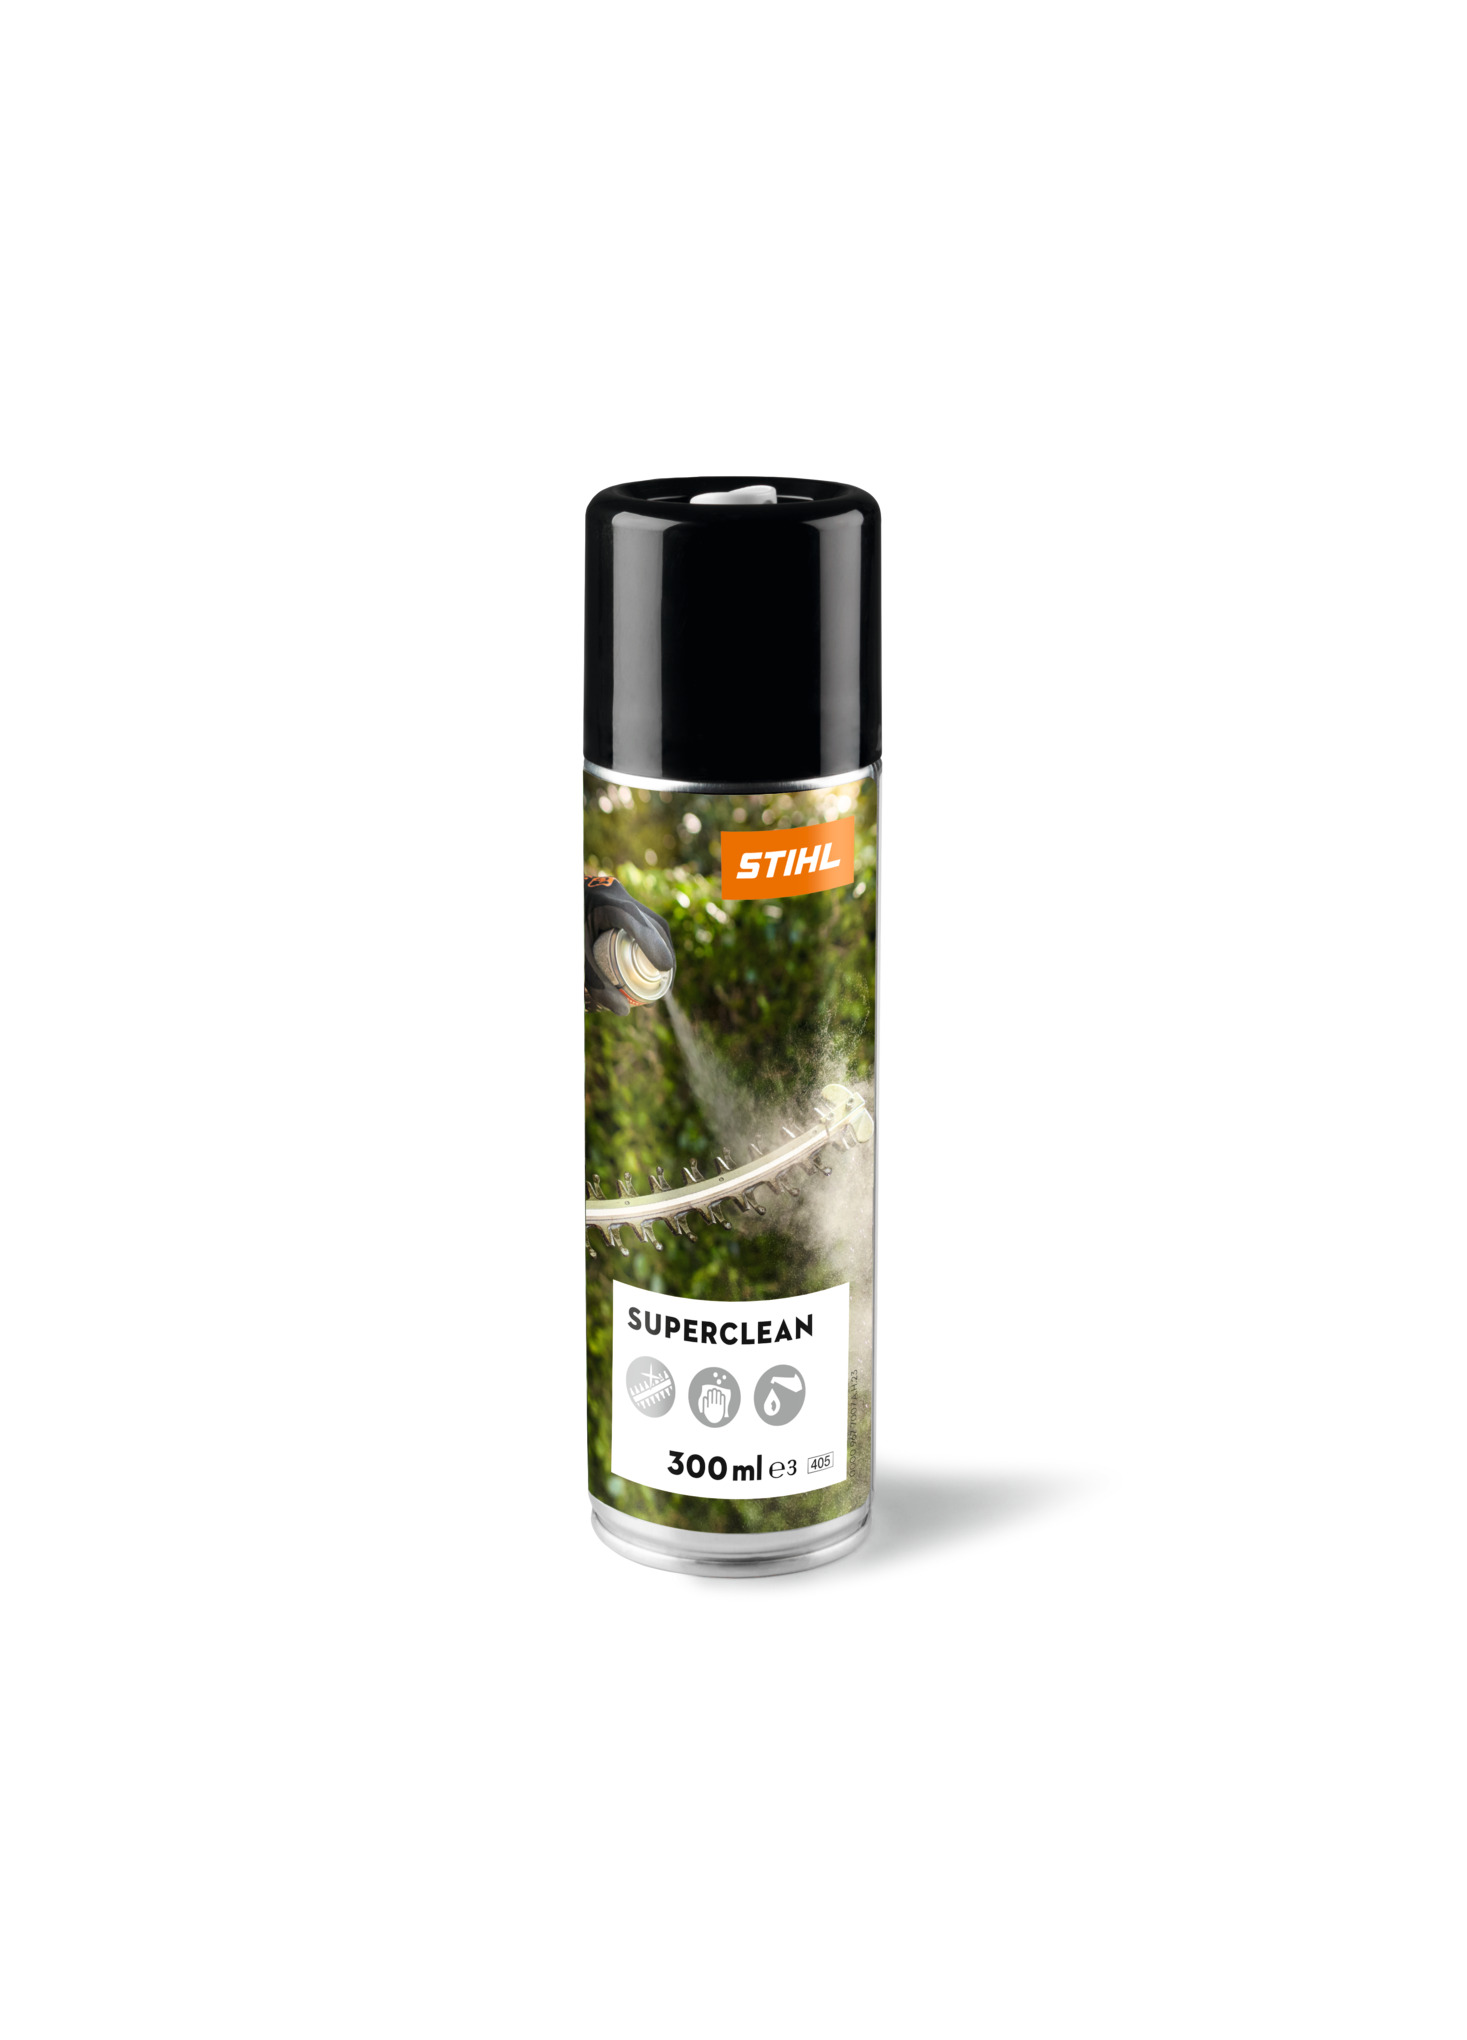
Use a brush to clean the cutting attachment and remove any large debris, like leaves and branches. Then give the blades a quick spray with resin solvent and run the hedge trimmer very briefly; doing this helps to distribute lubricant onto all the individual teeth and into the gaps. We recommend STIHL Superclean resin solvent, because it provides corrosion protection as well as dissolving resin and rust.
First use a brush to remove leaves, twigs and other coarse dirt from the cutting attachment, before moving on to the detailed work.
Next, spray the cutting blades with a little resin cleaner and briefly start the hedge trimmer. Running the blades allows the lubricant to spread on the teeth and in the gaps. As well as dissolving resin and rust, the resin cleaner also provides corrosion protection.
Wipe the housing, battery and charger with a damp cloth. If necessary, clean the electrical contacts of the charger with a paintbrush or soft brush.
Remove the battery from your battery hedge trimmer and store it somewhere dry, separate from the hedge trimmer and charger. You can now store the hedge trimmer with the corresponding blade guard fitted, until you next use it. Read on for even more tips for how to store batteries correctly.

Wipe the housing, battery and charger with a damp cloth. Clean the electrical contacts on the charger with a paintbrush or other soft brush, if necessary.
Now you can put the hedge trimmer scabbard on and put your tools away under cover until you next use it.
Important: Remove the battery before putting a battery powered hedge trimmer. Store it in a dry place separate from the hedge trimmer and charger.
How to clean a hedge trimmer before extended storage
Your hedge trimmer needs a deep clean every now and again, especially if you plan to put it away for several months, or if it’s not working properly.
The first step in a thorough clean is to remove the cutting attachment from your hedge trimmer. You need to remove two screws to do this: one connects the drive to the blade, and the other is on the blade itself. Wipe any dust or dirt off the blades with a brush. Use a hedge trimmer blade cleaner, such as a resin solvent if there is a lot of resin on your hedge trimmer.
To deep clean the hedge trimmer, disconnect the cutting attachment from the tool. To do this, use a screwdriver to loosen two screws: one connects the gear to the blade, the other is on the blade itself.
Use a brush to remove any dust and dirt from the blades. If your hedge trimmer has accumulated a lot of resin, this can be effectively removed with a resin cleaner.
An important step that must not be neglected under any circumstances: sharpening the hedge trimmer. Every instance of contact with thick branches and leaves contributes to the blunting of the blades, which ultimately affects the cutting result. The power tool then also requires more energy to do the job.
Finally, spray the clean, freshly sharpened blades on both sides with a care oil; reattach the cutting attachment to the housing and cover it with the corresponding protective cover.
Cleaning your hedge trimmer: special considerations for petrol and battery hedge trimmers
In addition to the above-mentioned cleaning steps, you should note these special considerations for petrol and battery devices which will be out of use for an extended period (3 months or longer):
| Battery |
|---|
Remove the battery and fit the slot cover. |
| Cleaning: clean the battery with a damp cloth. |
| How to charge correctly: the lithium-ion battery can be charged at any time, regardless of the charge level. However, avoid fully discharging the battery, as this can seriously damage the charging capacity. |
| Storing a battery: charge the battery to between 40 and 60 percent (2 green LEDs lit) before storage and store it separately from the charger. |
You can find detailed information about this in the user manual for your tool.
As you clean, inspect the blades and consider whether you need to sharpen your hedge trimmer. Keeping the blades sharp makes a big difference to the effectiveness of your tool, as every time it makes a cut the blades become blunter. Eventually this will mean jagged cuts and damage as it trims branches and twigs, rather than a clean cut. As well as leaving your shrubs vulnerable to disease, it also means your tool will have to work harder. So regularly sharpen the blades as needed.
Storing petrol and cordless hedge trimmers
As well as the cleaning steps above, you should also note the following steps if you don’t plan to use your petrol or cordless hedge trimmer for an extended period (more than 3 months):
| Petrol | Cordless |
|---|---|
|
|


