Design and make a DIY bird box for nesting garden birds
This guide to making your own DIY birdhouse is not only a fun project for you, it also provides a safe place for cavity-nesting birds to raise their young.
10.02.2025

What you need to know before making a DIY bird box
In many urban areas and more rural locations, there is a limited supply of natural habitat suitable for birds to breed in undisturbed. Making a bird box is one way that anyone who has a garden, balcony or local park can help birds by giving them a place to nest and lay eggs. Birdhouses and nesting boxes for birds are popular and simple DIY projects that are usually made from wood or woodcrete, to provide shelter from wind and weather as well as protecting against predators who could steal eggs from the nest. You can find plans for building various birdhouse designs online; our design idea transforms an old log.
How big should the bird box be?
The Royal Society for the Protection of Birds (RSPB) recommends minimum floor space of 10 cm by 10 cm and a height of 20–25 cm. However, the size of the bird box you are making is less important than the size of its entrance hole, as this generally determines which bird species takes up residence. Small bird species will choose small entrance holes, to prevent larger birds and predators from getting in. This means that if you have enough space, you may be able to support a range of bird species by making bird boxes with entry holes in various sizes. Think about what birds you have in your area, and which you would like to attract to your bird box.
Nesting box for tits
Blue tits and marsh tits prefer a bird box with an entrance hole around 25 mm wide, while great tits need a slightly larger entry of 28 mm.
Nesting box for wagtails
Wagtails and spotted flycatchers prefer birdhouses that are semi-open at the front, as do blackbirds and robins.
Nesting box communities for sparrows
Little sparrows are different from most hole-dwelling bird species, because they love to be sociable. For most species only a single bird box in an area will be inhabited, but if you are making a sparrow box it’s a good idea to consider designing it for multiple nests, or installing several in a group.

When making my bird box, how big should the entrance be?
The entrance hole depends on the size of the bird species that you hope to move into the bird box. The RSPB recommends the following sizes:
- 25 mm for blue tits and coal tits
- 28 mm for tree sparrows and great tits
- 32 mm for house sparrows, nuthatches, and pied flycatchers
Preparation for making a bird box
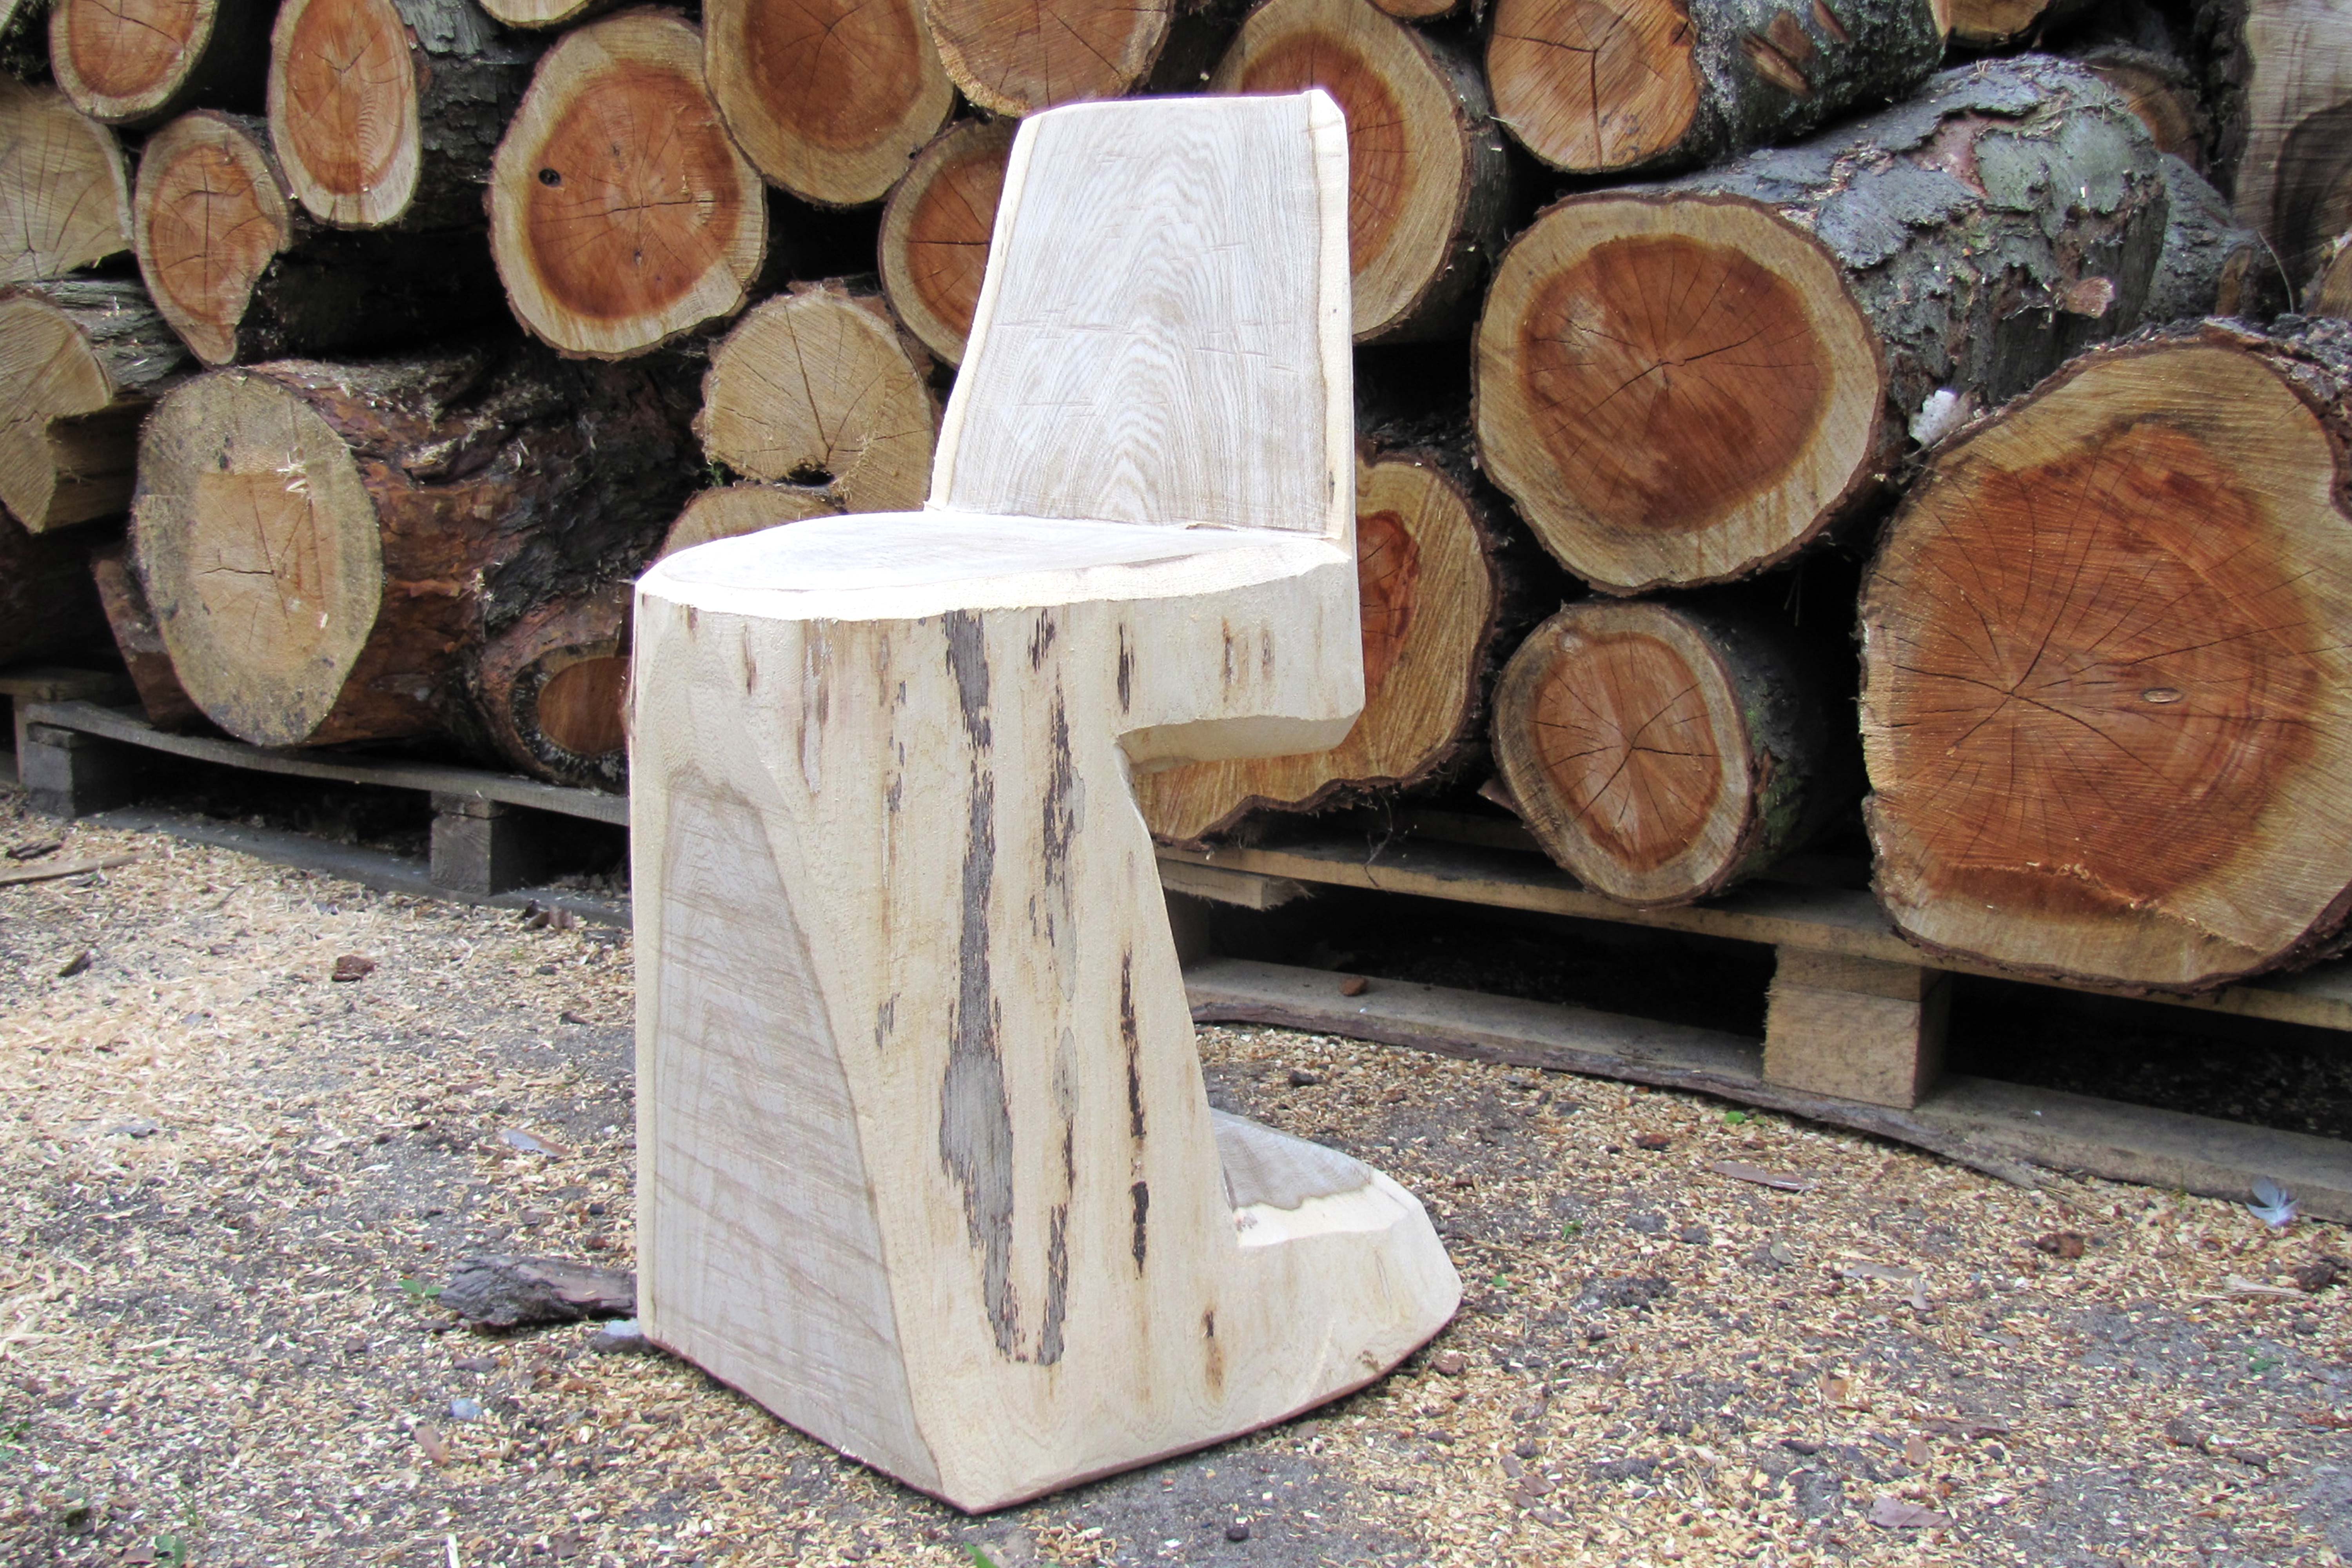
All you need to get building our beautiful DIY bird box design is a piece of log, a STIHL chainsaw, a drill, a sawhorse, and a free afternoon. Once you have decided on which bird species you want to attract, take note of the size you need your entrance hole to be. Now you can start building a perfect haven for local birds.

Full DIY power
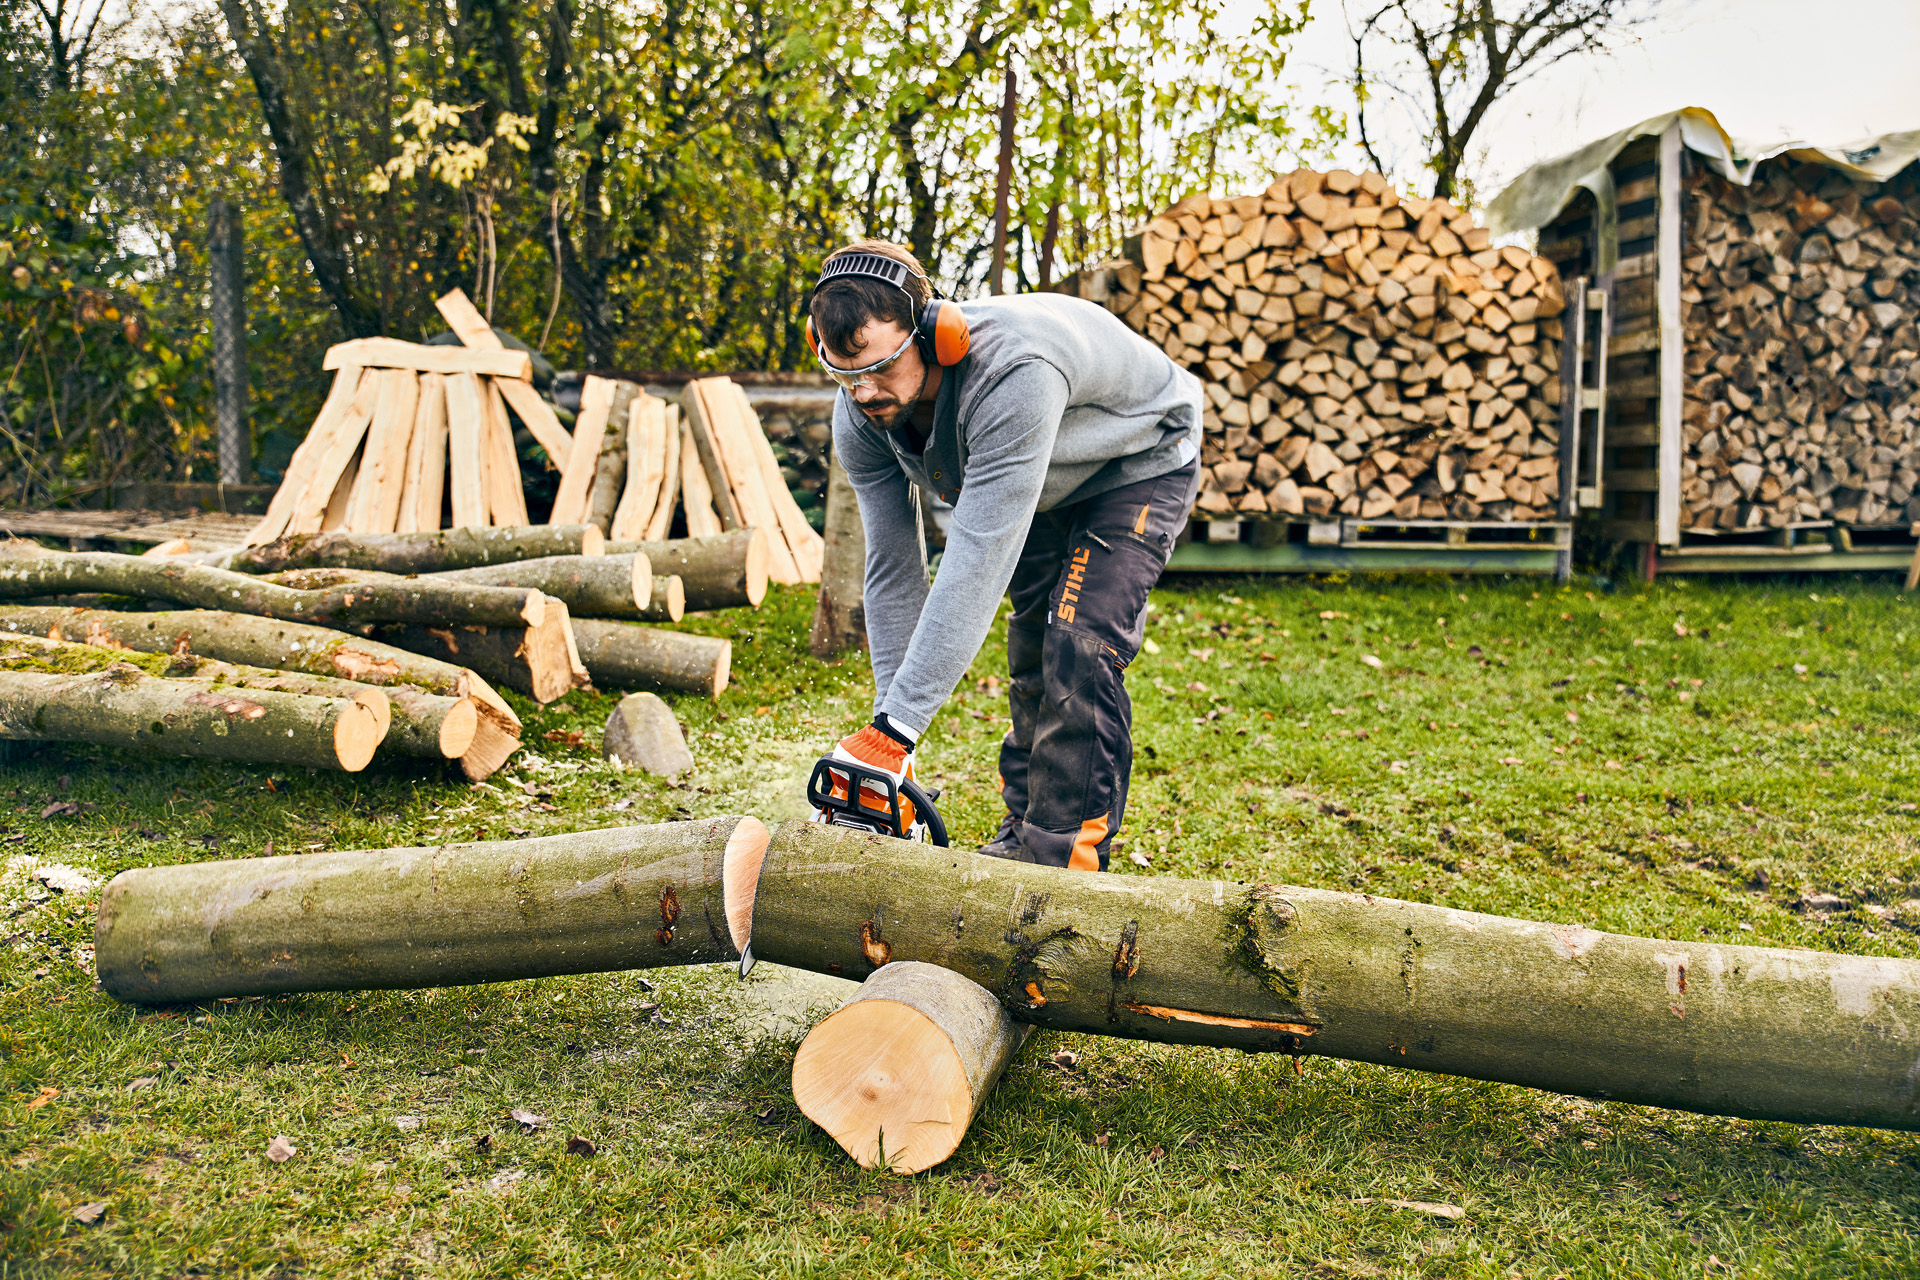
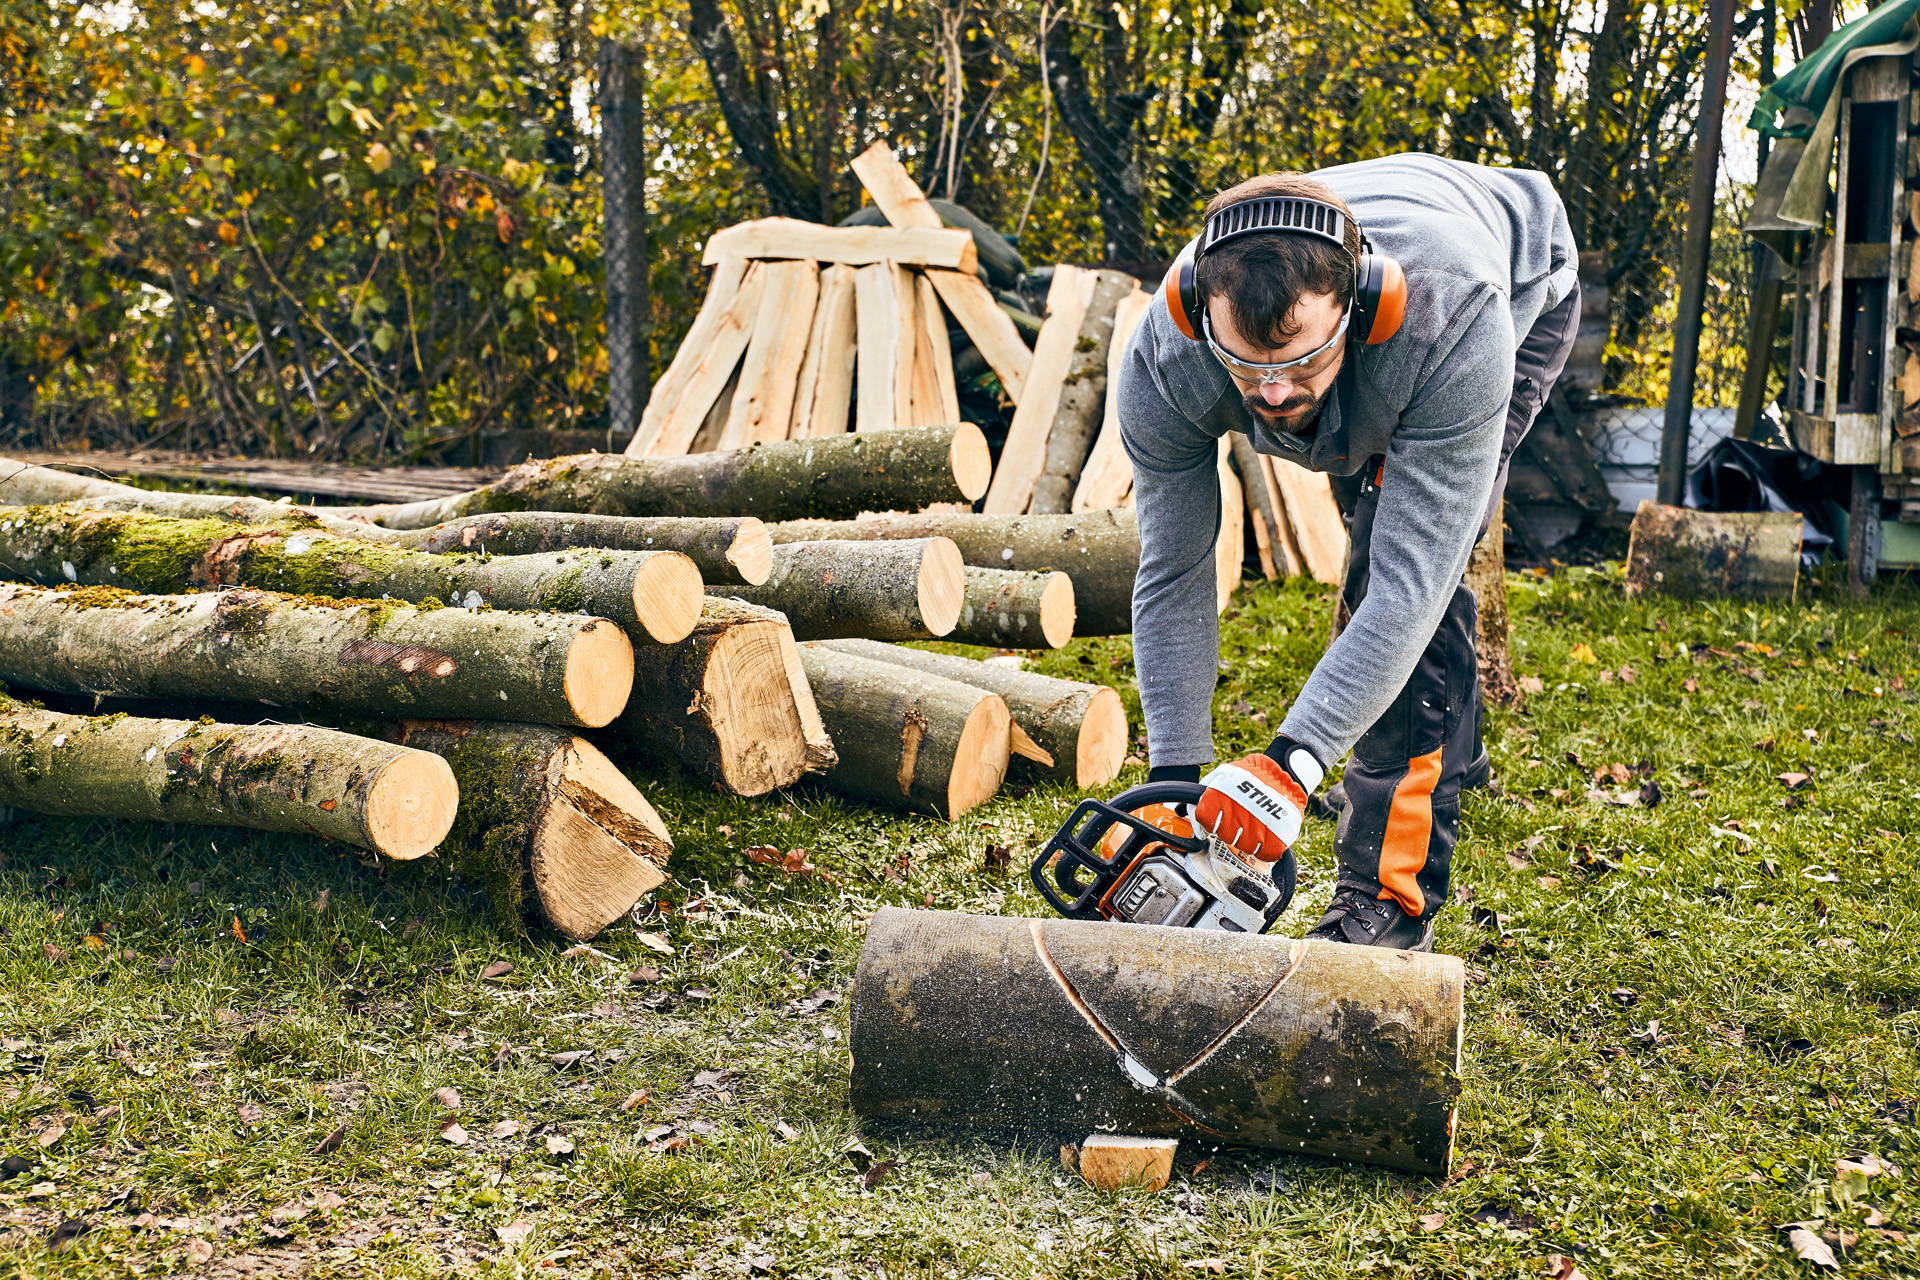
Use a chainsaw for making a bird box
With the right tools, making a bird box is twice as fun.

Choose the right wood for making your DIY bird box
Oak, robinia and larch are ideal for long-term outdoor use as they are highly durable. Pine and spruce are also possible alternatives. It’s essential that you use untreated wood to build your birdhouse, as wood preservatives and varnishes give off fumes that could scare off birds and even put their health at risk.
If you want to protect the wood from moisture and fungal attack, linseed oil is suitable for treating the exterior – however, because the bird boxes are hung outside they will simply dry of their own accord after wet weather, which means that untreated wood boxes last several years.
Committed to your safety: protective equipment
Making things with powerful tools is fun and means you can extend your abilities, which is great as long as you are relying on effective and safe protective clothing while using them. Always wear personal protective equipment when working with your chainsaw. This includes a helmet, cut protection trousers, safety boots, and more. The owners manual for your product (SUPPORT LINK) contains more details on this. Fully familiarise yourself with the tool before you use your chainsaw for the first time, and check it is in flawless condition before each use. On request, your STIHL dealer will be happy to prepare your tool for its first use, and will also advise you on models and sizes of protective clothing that you can try at your leisure. Please remember that personal protective equipment is no substitute for safe working techniques.

Material and tools for making a bird box
- A log, approximately 20 cm in diameter
- Wood screw eye bolts (60 to 80 mm)
- Drill (with 25 to 30 mm hole saw drill bit)
- Sawhorse
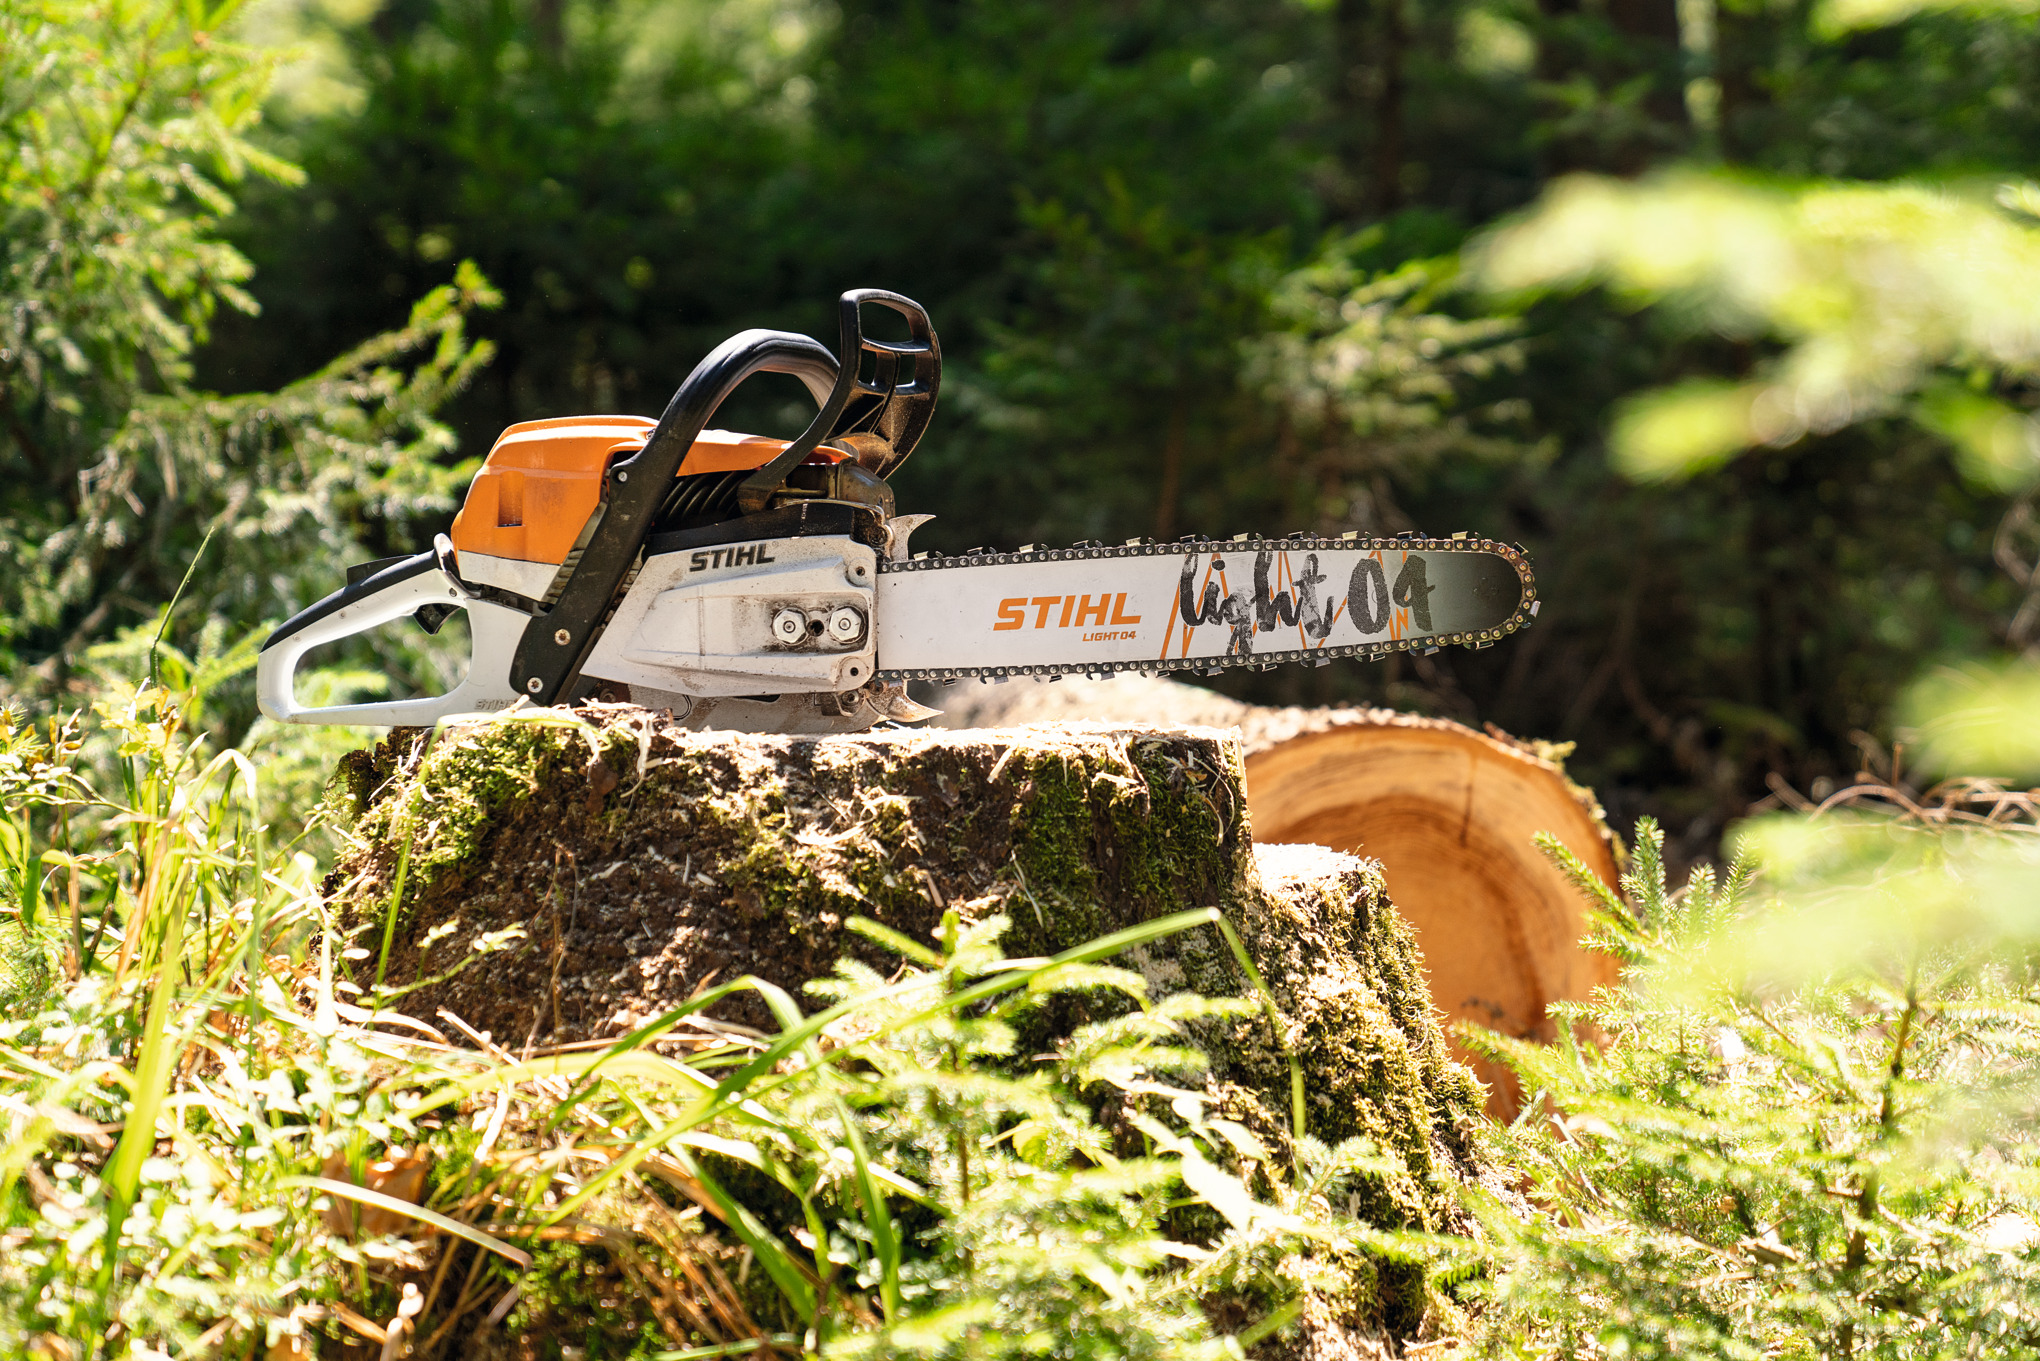
- STIHL chainsaw
Making a DIY bird box: how to do it
Once all the preparations are in place you can get started on making your bird box. Make sure your surroundings are safe and you have enough room in your working area to avoid tripping and other hazards.
The first step is to saw an approximately 3-centimetre-thick slice from the trunk by making a vertical, straight separating cut; this will be the base of your bird box.
Secure the trunk on the sawhorse. Use the saw to first make two parallel cuts to a depth of approximately 20 cm on the left and right sides. Rotate the trunk through 90° and make two more cuts to create a rectangle.
Caution: This method of working has an increased risk of kickback. Be certain to observe the safety information in the operating instructions.

Create the main chamber from the end of the trunk you have just cut into, using an angled cut across that will make the pitched roof of your birdhouse. You can now finish hollowing the piece of wood by knocking out the centre.

The next step is making a way in. The easiest way is to use a drill with a hole saw bit, or a jigsaw. Check the diameter you need for the birds you hope to attract.

Saw a roof slab from the remainder of the trunk, cutting a “plank” from the centre with two parallel strokes. Remember that the roof needs to be longer than the diameter of the wood, because it will be fixed at an angle (in our example the total size is approximately 30 cm).

First use eyebolts to attach the base to the main house, then the roof can be nailed on. Make sure that the roof extends beyond the bird box walls so that rain can run off without any problems.

Use screws to facilitate opening between seasons
Using eyebolts instead of nails means it will be easy to open your bird box for cleaning after the birds have moved out at the end of the season. Old nests will not be reused, and cleaning ensures you are making the bird box as healthy as possible for your garden birds.
Video instruction: DIY Bird box
In our video we show you how to provide birds with a safe place to nest. Get the materials ready, take safety precautions, start the engine and off you go!
By watching the video you agree to YouTube processing your data and that you have read the Privacy Policy.
Information on DIY bird boxes in your garden
How should the bird box be set up?
Making a DIY nesting box is only half the job: you also need to take care when it’s time to put it in place. It’s important to follow these instructions so that resident birds and their offspring are sufficiently protected against predators, weather conditions, and people:
- Hang the bird box in such a way that it cannot be reached by cats and other predators – we recommend a height of two to three metres.
- The opening should face away from the wind so that rain doesn’t get into the box.
- Don’t place the birdhouse in full sun, as it will quickly get too hot inside.
- Avoid moving the bird box after it has been installed, otherwise parent birds may abandon their nest.
- Do not put a perch under the entrance hole, as cats and climbing predators can take advantage of this.
- The birdhouse should be installed as far away as possible from footpaths and where children play, so that the birds remain undisturbed.
- The bird box can be put in place as early as in autumn.
- The ideal habitat for birds is one where there is a food source nearby, such as berry bushes.
- Any excess fur from combing your cat or dog will be welcomed by the birds when they are making their nests.
- Do not use poison in your garden.
- Consider adding a bird bath in the vicinity of your bird box.
How to clean your bird box
- You should use wood screws when assembling your bird box, in the interest of making it easy to open for cleaning.
- Late summer is an ideal time to clean the bird box, from around September.
- Do not take the bird box into your house, as it may contain mites, fleas and other parasites.
- Always wear gloves when emptying the nesting box.
- Thoroughly brush out the inside of birdhouse, then rinse it out with boiling water.
- Old nests should be disposed of in household waste or burned.
- Do not use insect repellent spray or other cleaning agents in your bird box.
Summary: making a DIY bird box
- Plan the construction and dimensions for your DIY bird box based on the species of bird likely to breed in your garden
- Robinia, oak and larch are ideal outdoor materials
- Always wear personal protective equipment when working with a chainsaw. For more details, see the owners manual for your power tool.
- First saw a slice of wood for the base of the bird box
- Use your chainsaw to hollow out a chamber and then for making a roof piece
- Drill an entrance hole; this should be between 25 and 32 mm in diameter, depending on the bird species
- Attach the base with screws, and the roof with nails
- Never use chemical products to clean the bird box. We recommend you clean it out with a dry brush in the garden, then wash it with hot water for hygiene
- Hang the bird box in an appropriate spot for the relevant species, and so that it is protected against predators