How to make a log chair
Make this DIY log chair for a functional piece of furniture that not only shows off your chainsaw skills, but also adds charm to a living space.
10.02.2025

Make a log chair: preparation
It takes a little time and patience to produce a rustic chair; if you are experienced at this type of chainsaw work, expect to spend a full day on this project. The good news is that this design is for a solid DIY wood chair that is entirely sawn from a single trunk – so you don’t need any screws, glue or a hammer.
Full DIY power

Choose your chainsaw to make a log chair
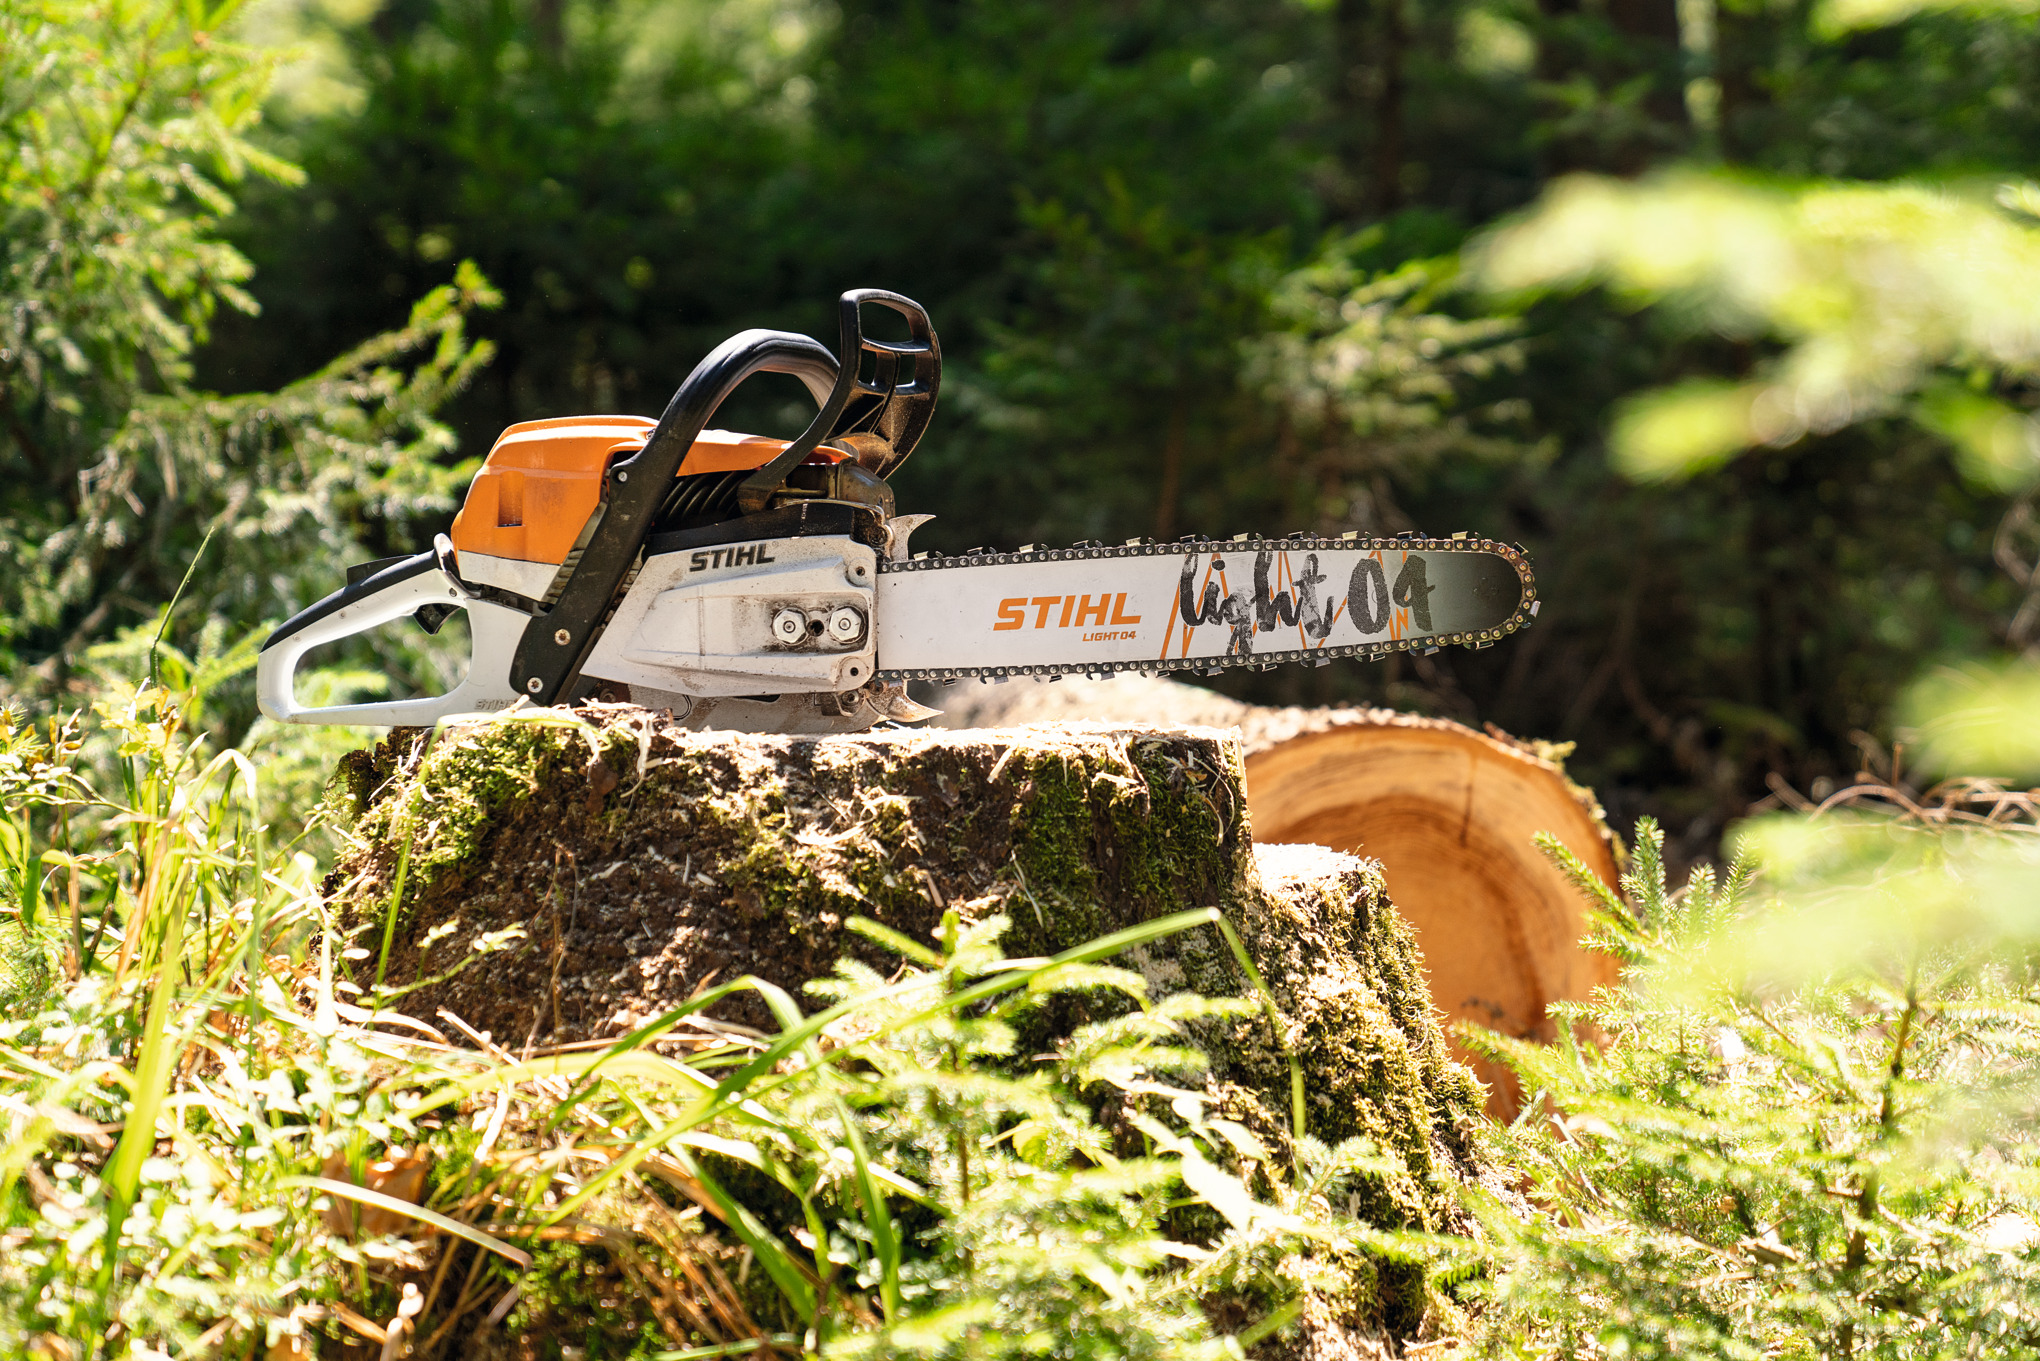
Work quickly and efficiently. Even if you are only a hobbyist chainsaw user, STIHL offers a wide range of compact chainsaws that are suitable for DIY projects.
Make a log chair: chainsaw tip
The guide bar
Ideally, the guide bar on your chainsaw should be about ten centimetres longer than the diameter of the trunk. Then you’ll only need to saw from one side, not both.

Make a log chair: selecting your wood
Different varieties of wood are really individual, and as you’re making a piece that should be decorative as well as functional, you should choose a material that appeals to you. Weather-resistant hardwoods such as oak or robinia are ideal for a particularly rustic look, but softer woods such as pine would also be an option. Note that coniferous timber may secrete resin.
Tip: use a log from the base of the trunk
Whatever type of wood you opt for, we recommend that you use a piece from the lower trunk with the root collar intact; this will mean the log is slightly wider towards the bottom, which will make your chair more stable.
Tip: debarked log or au naturel?
You can use a log with or without bark to make your chair. If you prefer the look with bark, choose a freshly felled tree to ensure that the bark is still firmly attached.
However, freshly felled wood is not ready for use immediately, and should be dried before you start working with it. The drier the wood the better for DIY projects, as it means a lower risk of cracks forming later. Wood can be stored for several years to dry or, for a faster process, you can ask a carpenter to dry it in a drying chamber. Be aware: wood is a natural material and the bark may come away from the trunk during the drying process. You should also consider that it’s not always easy to make marks on bark.
If you prefer to remove the bark from your log first, you can use a STIHL debarking iron.
Committed to your safety: protective equipment
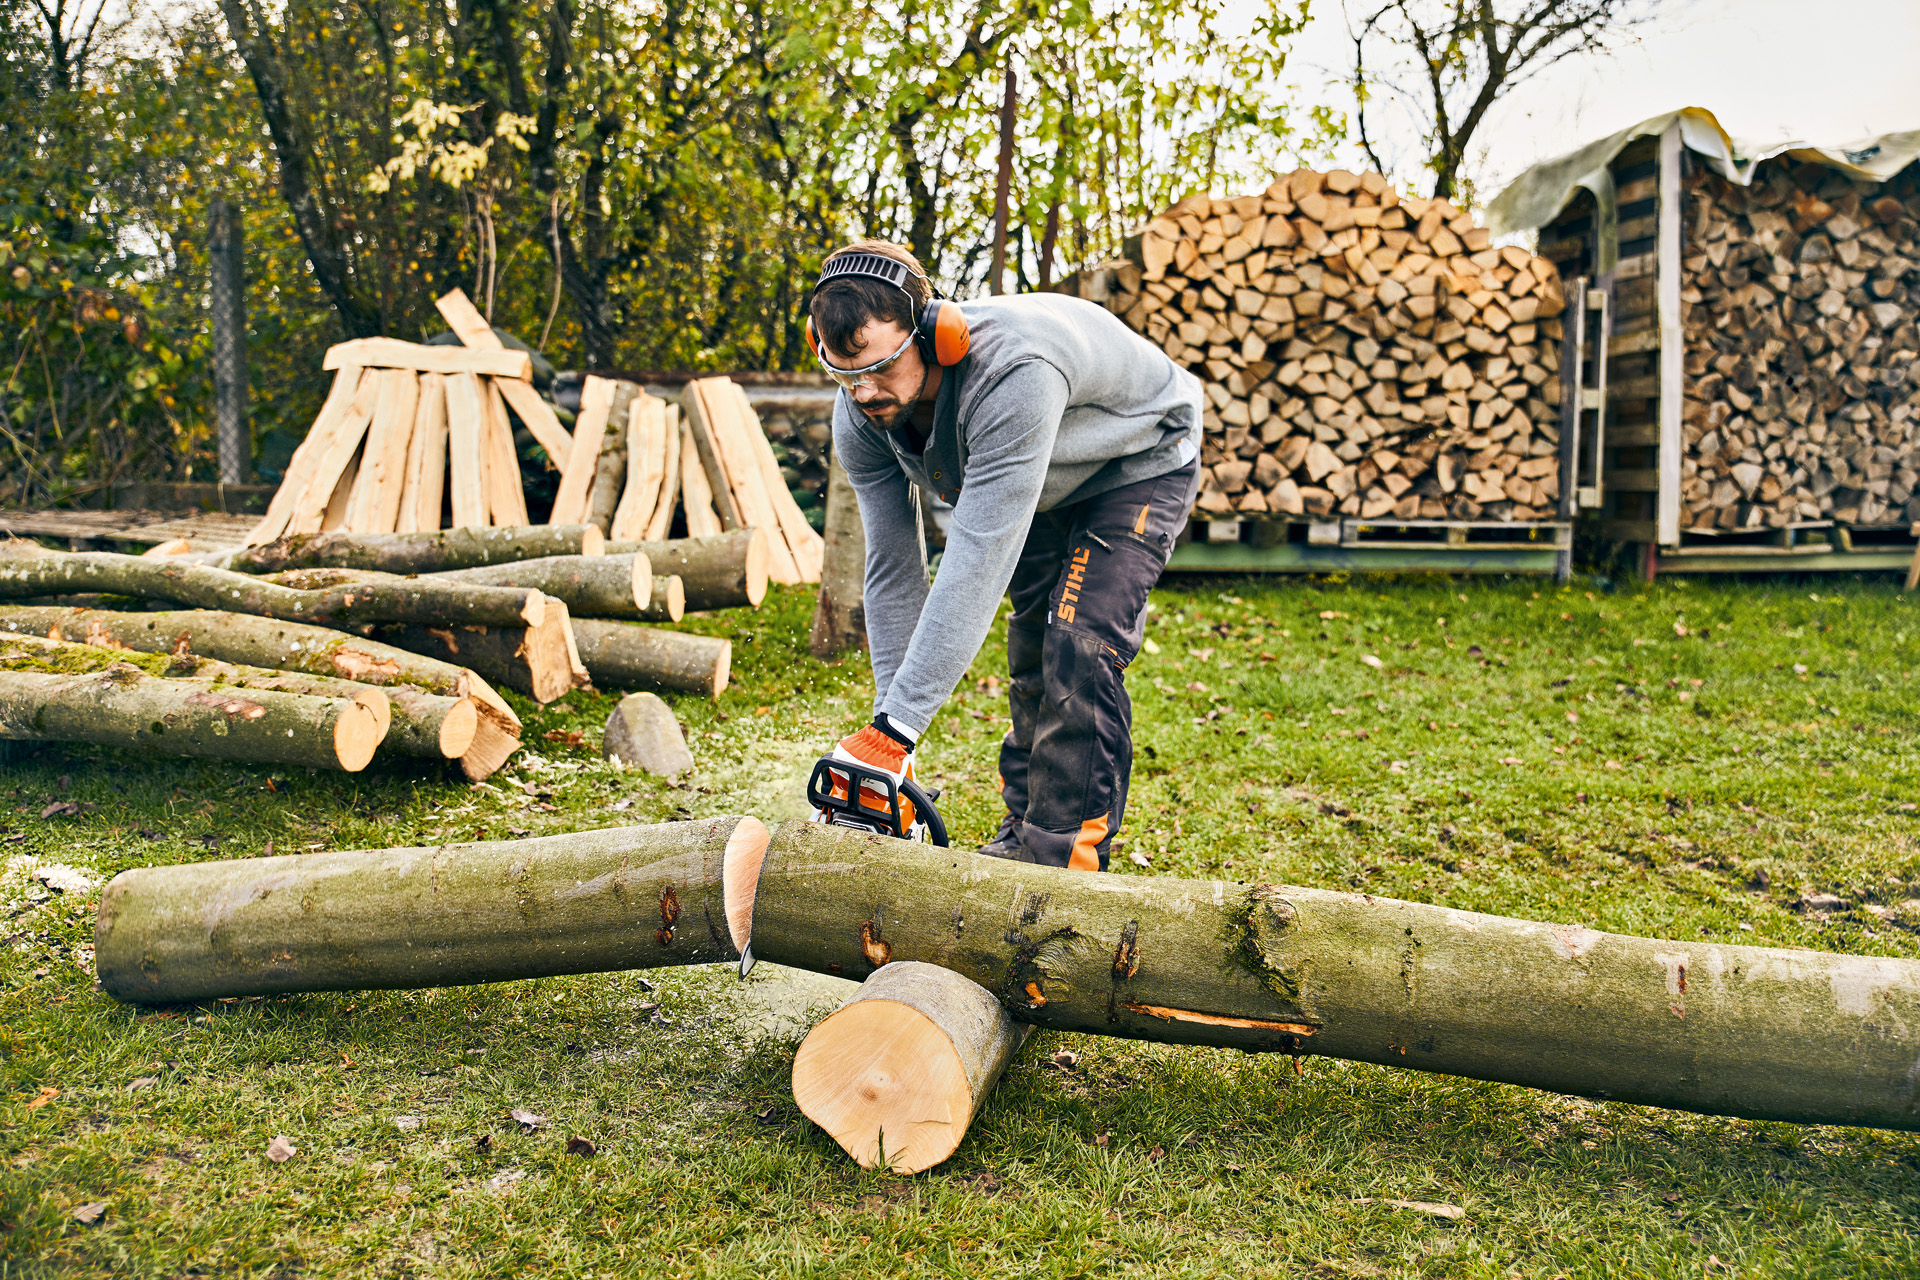
Using powerful tools in your DIY is fun and means you can extend your abilities, which is great as long as you are relying on effective and safe protective clothing while using them. Always wear personal protective equipment when working with your chainsaw. This includes a helmet, cut protection trousers, safety boots, and more. The owners manual for your product contains more details on this. Fully familiarise yourself with the tool before you use your chainsaw for the first time, and check it is in flawless condition before each use. On request, your STIHL dealer will be happy to prepare your tool for its first use, and will also advise you on models and sizes of protective clothing that you can try at your leisure. Please remember that personal protective equipment is no substitute for safe working techniques.
Tools and materials you need to make a log chair
Wood
- dried section of tree trunk
- around 30 to 40cm in diameter
- 70 to 100cm long
Tools
- STIHL chainsaw
- Spirit level
- Folding ruler/measuring tape
- Angle grinder
- Chalk
- STIHL debarking iron
- Personal protective equipment

Make a log chair: getting started
Once all the materials are in place, you can start to make your rustic log chair. Make sure your work area is safe and you have enough room to avoid tripping and other hazards.
Before you can get your chainsaw going, you need to take some measurements and make marks with a chalk or pencil to guide your sawing.
- Draw a straight line on the top end face of the log, where the backrest of the chair will finish.
- Mark around the log at the height your seat needs to be. A standard seat height for a chair is around 45 centimetres, or you can use another chair as a guide.

- Cut the backrest, remembering that it should be slightly angled downward as it meets the seat surface. If you make the cut too close to the middle of the log, the chair may be too small to sit on. Stop cutting before you reach the line you marked for the seat.
- Start to saw the seat, but don’t cut all the way through: stop at around two-thirds of the way through, so your log shape is still intact. This will make it easier to rotate and will help when making the base of the log chair.

Your log chair features a cut-out section at the back of the base. Use a spirit level to make sure your marks are accurate:
- First mark the corner points of the cuts, then join them together.
- The angle of the vertical cut is up to you, but make sure the cut-out is positioned in such a way that the chair remains stable.

- Start with the cut that runs parallel to the seat.
- Next, saw the bottom part of the cut-out, which should be angled slightly upward.
- The final cut you make should be the vertical one The excess wood will come away easily, and should practically fall out of the base of its own accord.

A front cutaway at the base gives your log chair a lighter and more elegant look.
- Use a spirit level to help you mark a diagonal line that will remove a wedge from the centre front of the log base.

- Use your chainsaw to cut along the line
Tip: Make sure the guide bar does not touch the floor when you saw the front of the base. You could do this by using something like a wooden pallet to elevate the log, or attach the wood to a sawhorse before cutting.

- Turn the log upside down, standing it on its top end
- It’s now easy to carefully make some extra cuts to smooth the vertical corners of the cut-out section. This rounds the edges and improves the appearance of the chair.
Tip: Use the incoming part of the saw chain – i.e. the underside of the guide bar – to make these rounding cuts. If you use the outgoing chain, there’s a risk of splintering.

You have already made the basic slope of the backrest; add a little curve to it for comfort and a better finish.
- Turn your log the right way up, so the base is on the ground. Use your saw to shape the backrest.
- Use the diagonal cut you have already made as a starting point and guide, cutting further into the wood of the chair, not the excess part of the log.

- Now you need to complete the cuts on the backrest and seat, which you began by sawing two-thirds of the way through. Once that’s done, you can remove the excess piece of wood.
- Make extra cuts around the seat to soften the edges.

- If you have used a debarked log to make your chair, we recommend sanding any rough and uneven areas to guarantee your creation stays protected and comfortable to use for the long term.
- Treating the finished log chair with hardwax oil will protect it against weathering.

How to sand solid wood
It’s essential to use the right sandpaper: high-quality sandpaper feels sharp to the touch and retains its grit when you scratch it with your fingernails. Reddish-brown sandpaper, which contains aluminium oxide, is the best choice for sanding wood. Avoid using flint, emery or quartz paper on wood because they wear out quickly.
Sandpaper at 80 to 120 grit is fine for first sanding to smooth roughness on your log chair. You should follow up with 180- to 240-grit sandpaper for the final sanding. Make sure you always sand along the grain.
Summary: how to make a log chair
- Find a suitable log and remove the bark if you wish to
- Use a chainsaw with a sufficiently long guide bar
- Always wear personal protective equipment when working with your chainsaw. For more details, see the owners manual for your product
- Use a spirit level and ruler to help you make markings on the wood
- Prop your log on a wooden support when making long downward cuts, to avoid hitting the ground and damaging your chainsaw
- Use aluminium oxide sandpaper to sand the chair
- Finally, treat your log chair with hardwax oil


